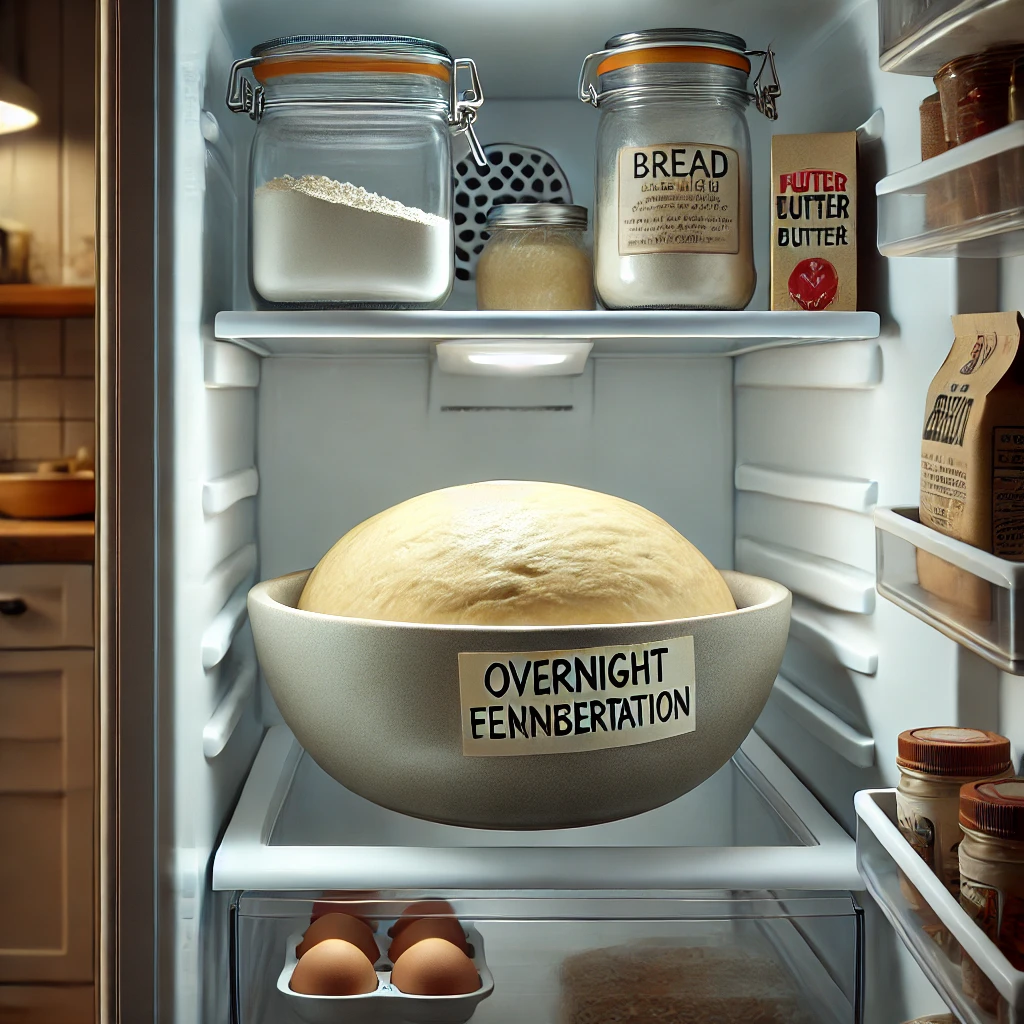
One of the best secrets in home bread baking is the refrigerator. Cold fermentation, or overnight fermentation, is a simple yet powerful technique that enhances your bread’s flavor, texture, and convenience. Whether you’re a beginner or an experienced baker, using the fridge in your bread process opens up flexibility—and adds that extra depth of character to your loaf.
In this article, you’ll learn how and why to ferment your bread dough overnight, how to properly time the process, what kinds of dough work best, and how to bake straight from the fridge.
1. What Is Cold Fermentation?
Cold fermentation is the process of letting bread dough rest and rise slowly in the refrigerator. The yeast or sourdough starter continues to work, but at a slower pace, allowing enzymes to break down the flour more thoroughly.
Main benefits:
- Better flavor (more complex and slightly tangy)
- Improved crust and crumb structure
- More manageable schedule (mix today, bake tomorrow)
- Easier dough handling (cold dough is less sticky)
2. When to Refrigerate the Dough
There are two main points where refrigeration can be used in bread baking:
A. After mixing and kneading (bulk fermentation):
- Dough is placed in the fridge after initial mixing/stretch-and-folds
- Rises slowly over 8–24 hours
- Shaped the next day and proofed briefly before baking
B. After shaping (final proof):
- Dough is shaped and placed in a basket or pan
- Covered and refrigerated overnight
- Baked straight from the fridge
Both methods work. Choose based on your schedule and comfort level.
3. Best Doughs for Overnight Fermentation
Most yeasted and sourdough recipes adapt well to cold fermentation.
Ideal doughs:
- Rustic sourdoughs
- Ciabatta
- Baguettes
- Artisan white or whole wheat loaves
- High-hydration doughs (they develop beautifully in the cold)
Avoid:
- Enriched doughs with high sugar or butter content (they ferment slower and may not benefit as much)
- Super fast-rise doughs meant for same-day baking
4. How to Refrigerate Properly
Here’s how to set up for cold fermentation:
For bulk fermentation:
- Place the dough in a lightly oiled bowl or container.
- Cover tightly with a lid, plastic wrap, or reusable wrap.
- Place in the fridge (ideally around 38–42°F or 3–5°C).
- Let it rise slowly overnight (8–24 hours).
- The next day, shape, rest, and bake.
For final proofing:
- Shape your dough and place it in a proofing basket, loaf pan, or tray.
- Cover it well to avoid drying out.
- Refrigerate for 8–16 hours.
- Bake straight from the fridge (great for scoring and oven spring).
5. Tips for Successful Cold Fermentation
- Don’t overproof before refrigerating: Dough should be just starting to rise before going into the fridge.
- Expect less volume growth: Dough rises slowly in the fridge—it may not double like at room temp, but that’s okay.
- Adjust yeast quantity if needed: For longer refrigeration (18–24 hrs), reduce yeast by 25–50%.
- Score chilled dough immediately before baking: Cold dough holds shape better and gives clean cuts.
6. Baking Directly from the Fridge
No need to bring dough to room temperature—bake cold!
Why it works:
- Cold dough holds its shape better during oven spring.
- It allows for clean scoring.
- The difference in baking time is minimal (maybe 2–5 minutes longer).
Tips:
- Preheat your oven and Dutch oven or baking stone for at least 30–45 minutes.
- Bake with steam for the first 20 minutes to help crust formation.
7. Storing and Scheduling
Cold fermentation offers scheduling freedom:
- Mix dough in the evening → refrigerate overnight → shape and bake the next day
- Mix and shape same day → refrigerate shaped loaf → bake the next morning
You can even pause fermentation with the fridge if something comes up and you need to delay baking.
Final Thoughts
Overnight fermentation isn’t just a convenience—it’s a powerful technique that transforms your bread. By slowing down the process, you allow flavor, texture, and crust to reach their full potential.
With just a bit of planning and the cool help of your fridge, you’ll bake better bread—on your time.
