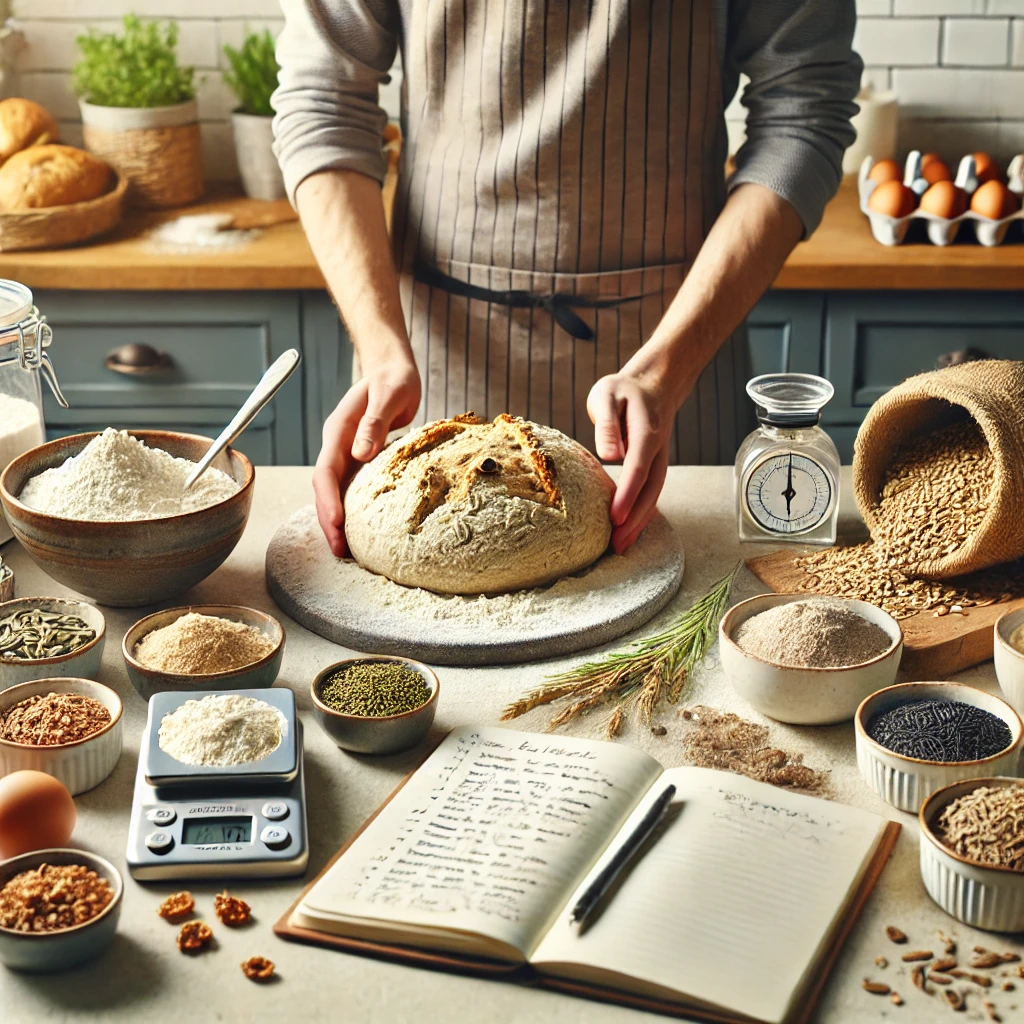
There’s something deeply rewarding about creating your own bread recipe from scratch. Instead of following someone else’s formula, you get to be the artist—mixing, testing, and refining until you find the perfect loaf for your taste and style.
Whether you want to craft a signature bread with herbs and grains, adjust a dough to meet dietary needs, or simply explore your creativity, this guide will walk you through the process of developing your very own bread recipe from the ground up.
1. Understand the Basic Bread Formula
Before you start experimenting, it’s essential to know the basic structure of bread dough. Most yeast breads include:
- Flour
- Liquid (usually water or milk)
- Leavening (yeast or sourdough starter)
- Salt
Optional ingredients:
- Fat (oil, butter)
- Sweetener (sugar, honey)
- Add-ins (herbs, seeds, cheeses, etc.)
A standard baker’s ratio is:
- 100% flour
- 60–80% hydration (water/milk)
- 1–2% yeast
- 1.5–2% salt
Use a digital scale and work in grams to stay precise and adjust easily.
2. Choose Your Flour Base
Start with 100% of your chosen flour and decide if you’ll use one type or a blend.
Options:
- Bread flour: High protein, best for structure and airiness.
- All-purpose: Versatile, but with less strength.
- Whole wheat: Adds flavor and nutrition but absorbs more water.
- Rye or spelt: Great for rustic character (use up to 30% in blends).
You can begin with a base of 70% bread flour and 30% whole grain for a balanced structure and flavor.
3. Pick a Hydration Level
Hydration is key to texture.
60–65%: Soft, easy-to-handle dough
70–75%: Open crumb, rustic feel
80%+: Wet, sticky dough—advanced handling but great flavor
Use warm water or plant-based milk if desired. Start with 70% hydration and adjust from there as you feel the dough.
4. Decide on Leavening
Do you want to use:
- Instant or active dry yeast (fast, reliable)
- Sourdough starter (slow, flavorful, natural)
For yeast: use about 2g per 500g flour
For sourdough: use 100–150g starter and reduce liquid and flour accordingly
If unsure, start with yeast—it’s easier to control while developing a new recipe.
5. Add Salt for Flavor
Salt strengthens gluten and balances flavor.
Use 1.8–2% of flour weight (around 9g per 500g flour).
Too much can slow fermentation. Too little makes bland bread.
6. Optional: Add Fat or Sweeteners
Want a softer loaf or a hint of sweetness?
- Fats: Olive oil, butter, or coconut oil (10–30g per 500g flour)
- Sweeteners: Sugar, honey, or maple syrup (5–25g)
These ingredients enrich the dough and affect softness and color.
7. Choose Flavor Enhancers or Add-Ins
This is where your creativity shines!
Savory add-ins:
- Herbs (rosemary, thyme, oregano)
- Garlic (roasted or fresh)
- Seeds (sunflower, flax, sesame)
- Grated cheese
- Olives or sun-dried tomatoes
Sweet add-ins:
- Cinnamon, nutmeg
- Raisins, dates, or cranberries
- Orange zest, nuts, dark chocolate
Add during final mixing or at the end of kneading. Don’t overload—start with 10–15% of total flour weight.
8. Mix, Knead, and Ferment
- Mix everything until combined.
- Knead for 8–10 minutes by hand or in a stand mixer.
- Let the dough rise (bulk fermentation) for 1–2 hours until doubled.
For extra depth, cold ferment in the fridge overnight after mixing or shaping.
9. Shape and Proof
Shape your dough into a loaf, boule, or rolls.
Final proof: 45–90 minutes at room temp, or overnight in the fridge.
Cover well to prevent drying out.
10. Bake and Record Your Results
Bake at 400–475°F (200–245°C) depending on crust preference.
Use:
- Dutch oven for steam and crust
- Parchment paper to transfer dough
- Score the top with a sharp blade
Take notes on:
- Texture
- Rise
- Crust color
- Flavor
- Baking time
Adjust one element at a time in future batches to fine-tune your perfect loaf.
Final Thoughts
Creating your own bread recipe is a joyful journey of trial and discovery. With a solid understanding of bread basics and the freedom to experiment, you can turn your preferences into a signature loaf that’s entirely yours.
So grab your notebook, trust your instincts, and start baking the bread that no one else has ever made—yet.
