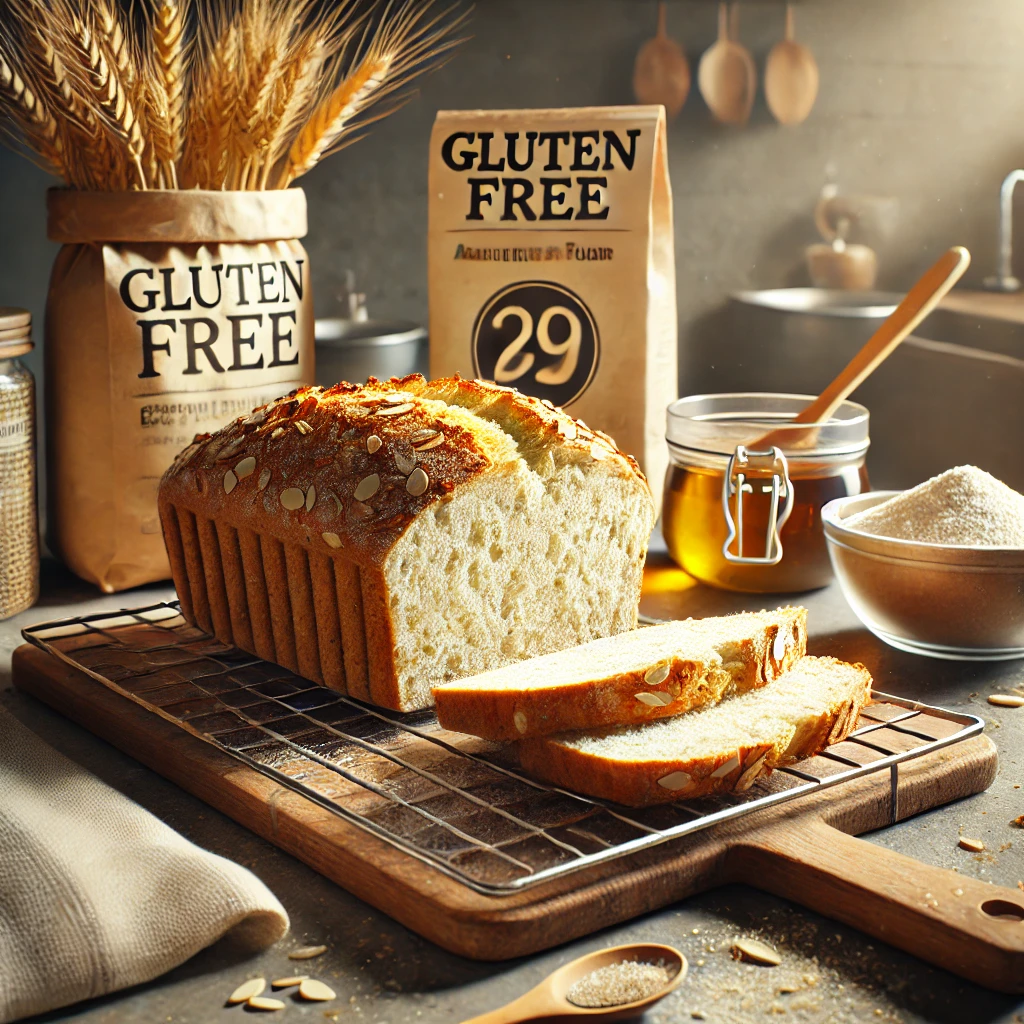
Baking gluten-free bread at home might seem challenging, but with the right ingredients and a little know-how, you can make a loaf that’s soft, flavorful, and satisfying—without the gluten. Whether you’re baking for health reasons, dietary restrictions, or personal preference, gluten-free bread doesn’t have to be dense or bland.
In this article, you’ll learn how to prepare delicious gluten-free bread with simple steps, understand how gluten-free ingredients work, and discover tips to achieve a light texture and rich flavor in every slice.
1. Understanding the Basics of Gluten-Free Baking
What’s missing?
Gluten is the protein found in wheat, barley, and rye. It gives traditional bread dough elasticity and structure. Without gluten, bread can easily become crumbly or heavy.
The solution?
Use a combination of flours, starches, and binders to mimic gluten’s function.
2. Essential Ingredients for Gluten-Free Bread
Gluten-free flours:
- Rice flour: Light and neutral, good base flour.
- Almond flour: Adds richness and moisture.
- Oat flour (certified GF): Adds a mild flavor and softness.
- Sorghum flour: Earthy and slightly sweet.
- Buckwheat flour: Nutty flavor and strong structure.
- Teff or millet flour: Great for whole-grain nutrition.
Starches:
- Tapioca starch: Adds stretch and chew.
- Potato starch: Lightens the crumb.
- Cornstarch: Improves softness.
Binders (to replace gluten):
- Psyllium husk: Best for structure and elasticity.
- Xanthan gum or guar gum: Helps with binding.
- Flax or chia gel: Can add moisture and light binding.
3. Simple and Reliable Gluten-Free Bread Recipe
Ingredients:
- 1 ½ cups (180g) rice flour
- ½ cup (60g) almond flour
- ½ cup (60g) tapioca starch
- 2 tbsp psyllium husk powder
- 2 tsp instant yeast
- 1 ½ tsp salt
- 1 ½ cups (350ml) warm water
- 1 tbsp olive oil
- 1 tbsp sugar or honey (optional)
Instructions:
- Mix dry ingredients in a large bowl.
- In a separate bowl, mix warm water, oil, and sweetener (if using).
- Combine wet and dry ingredients. Stir vigorously until well combined.
- Let the dough sit for 5–10 minutes so the psyllium activates and firms up.
- Transfer to a greased loaf pan. Smooth the top with a wet spatula.
- Cover and let rise in a warm place for 45–60 minutes, until slightly puffy.
- Preheat oven to 375°F (190°C).
- Bake for 45–55 minutes. The top should be golden and firm.
- Let cool completely before slicing.
4. Tips for Better Texture and Flavor
- Use a blend of flours and starches—avoid relying on just one.
- Don’t skip the binder—it’s essential to mimic the structure gluten provides.
- Moisture is key—gluten-free doughs are usually wetter than traditional ones.
- Let it cool before slicing—cutting too soon leads to gummy texture.
5. Flavor Boosting Additions
Savory options:
- Chopped herbs (rosemary, chives, oregano)
- Roasted garlic
- Sun-dried tomatoes and olives
Sweet options:
- Cinnamon and raisins
- Lemon zest and dried cranberries
- Chopped nuts and maple syrup swirl
You can also top the loaf with seeds, oats, or a drizzle of olive oil before baking.
6. Storage and Freezing
- Store at room temperature in an airtight container for up to 2 days.
- Refrigerate for up to 5 days (but may dry out slightly).
- Slice and freeze for up to 1 month. Toast straight from the freezer.
To refresh: Warm slices in a toaster or oven at 300°F (150°C) for 5–7 minutes.
Final Thoughts
Gluten-free bread baking doesn’t have to be a guessing game. With the right ingredients, good technique, and a bit of experimentation, you can bake loaves that are every bit as satisfying as traditional bread.
So grab your favorite flours, preheat that oven, and enjoy the wonderful aroma and taste of fresh gluten-free bread—made right in your own kitchen.
