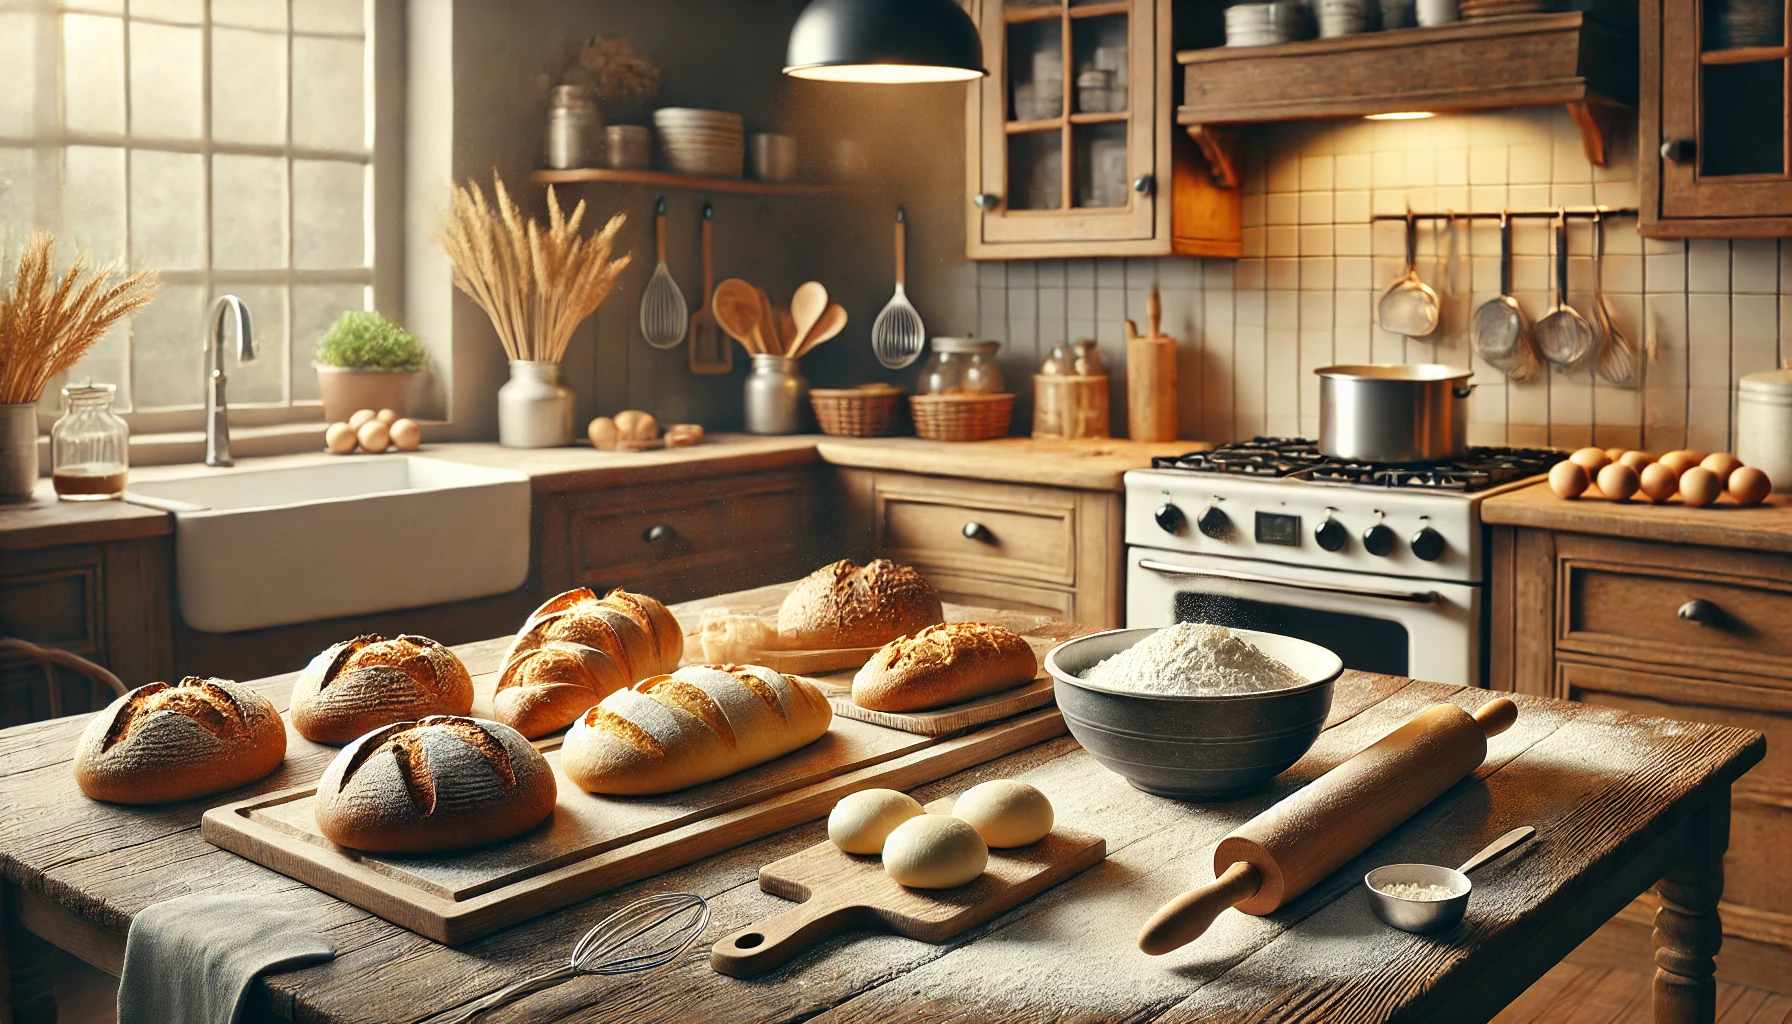
Making your own bread at home may sound intimidating at first, but with a little patience, the right guidance, and a pinch of curiosity, you can create truly amazing loaves right from your kitchen. Whether you’re dreaming of crusty artisan sourdoughs or soft sandwich bread, this guide will help you take your first steps into the delicious world of home bread baking.
Why Make Bread at Home?
There’s something deeply satisfying about kneading dough with your own hands and smelling fresh bread in the oven. Beyond the joy, making bread at home gives you:
- Control over ingredients – no preservatives, artificial flavorings, or added sugars.
- Freshness – nothing beats the taste of bread straight from the oven.
- Creativity – experiment with different flours, herbs, and techniques.
- Cost-efficiency – quality homemade bread is often cheaper than artisanal store-bought loaves.
Start With the Basics: Ingredients Matter
You don’t need a long list of ingredients to make great bread. In fact, most classic bread recipes use only:
- Flour
- Water
- Salt
- Yeast (or sourdough starter)
Flour is the backbone of your bread. Start with all-purpose or bread flour, and once you’re confident, explore whole wheat, rye, spelt, and others.
Yeast is what makes your dough rise. Instant yeast is beginner-friendly, while sourdough starters offer a more complex flavor (and a fun project!).
Water and salt may seem basic, but both play vital roles in hydration and flavor.
Essential Tools You’ll Need
You don’t need to invest in expensive equipment to get started, but having a few key tools helps a lot:
- Mixing bowls (glass or stainless steel)
- Measuring cups and spoons
- A kitchen scale (for accuracy)
- A dough scraper
- A baking sheet or Dutch oven
- Clean kitchen towels
Optional but helpful: a stand mixer, a lame (bread scoring blade), and a banneton (proofing basket).
Understanding Dough: Texture, Feel, and Patience
Dough can feel intimidating at first. Is it too sticky? Too dry? With experience, you’ll learn to trust your hands and instincts. Here’s a good rule:
- If the dough sticks slightly but pulls away cleanly, you’re on the right track.
- Too sticky and unmanageable? Add a little flour.
- Too dry and cracking? Add a splash of water.
Kneading builds gluten, which gives bread structure and chew. Most beginner breads require 8–10 minutes of kneading.
The Magic of Proofing
Once your dough is kneaded, it needs time to rise — this is called proofing. This process allows the yeast to ferment, making your bread light and airy.
- First proof (also called bulk fermentation): usually 1–2 hours at room temperature until the dough doubles in size.
- Second proof: after shaping the dough, let it rest again for 30 minutes to 1 hour before baking.
Proofing time may vary depending on your kitchen’s temperature. Warmer = faster. Cooler = slower (and often more flavorful).
Baking Tips for Beginners
One of the biggest fears of new bakers is underbaking or burning their bread. Follow these tips:
- Preheat your oven fully before baking.
- Use steam in the oven for better crust (you can place a pan of hot water on the bottom rack).
- Bake until your bread is golden brown and sounds hollow when tapped.
- Use a thermometer if unsure — the internal temp should be around 190–200°F (88–93°C) for most breads.
Start With a Simple Recipe
Here’s a basic bread recipe that’s nearly foolproof:
Ingredients:
- 3 ½ cups all-purpose flour
- 1 ½ tsp salt
- 1 tsp instant yeast
- 1 ½ cups warm water
Steps:
- Mix dry ingredients, then add water and stir until a shaggy dough forms.
- Knead for 8–10 minutes.
- Cover and let rise for 1–2 hours.
- Shape into a round loaf, let rise again for 30–60 minutes.
- Bake at 450°F (232°C) for 30–40 minutes.
Simple, delicious, and great for gaining confidence.
Learn and Improve With Every Loaf
Every time you bake bread, you learn something. Don’t be discouraged by flat loaves, dense crumbs, or uneven crusts — they’re all part of the journey.
Keep a bread journal:
- Note the flour you used
- The hydration level (ratio of water to flour)
- Proofing times and temperatures
- How the dough felt
- What the final bread looked and tasted like
This helps you track progress and discover what works best in your kitchen.
Experiment With Add-Ins
Once you’re comfortable with the basics, try adding flavor to your loaves. Some fun additions:
- Cheese and herbs (like rosemary and parmesan)
- Dried fruits and nuts
- Garlic and olives
- Seeds (sunflower, sesame, flax)
Always add mix-ins after your dough has come together, and fold them in gently.
Share the Joy
One of the best parts of making bread at home is sharing it. Give a loaf to a neighbor, bring one to a family gathering, or simply enjoy warm slices with butter at the table. It’s a wonderful way to connect with people — and yourself — through food.
Baking Bread at Home Can Change Your Life
That might sound dramatic, but it’s true. Making bread isn’t just about food — it teaches patience, mindfulness, and the beauty of slowing down. With every loaf you pull from the oven, you’ll gain confidence and joy.
So tie on that apron, roll up your sleeves, and get ready to make some magic. Your kitchen is now a bakery in the making.