Fermentation is at the heart of great bread. It’s during this crucial stage that the dough rises, flavor develops, and texture forms. Getting fermentation timing right can mean the difference between a dense, underproofed loaf and one with an airy crumb and rich aroma.
In this article, we’ll explore how to time fermentation stages accurately, what factors affect the process, how to spot visual and tactile signs of readiness, and how to adjust based on your environment.
1. What Is Fermentation in Bread Baking?
Fermentation is the process where yeast (commercial or wild) consumes sugars in the flour and produces carbon dioxide and alcohol. The gas gets trapped by gluten strands, causing the dough to rise, while the alcohol and acids contribute to flavor.
There are two key fermentation stages:
- Bulk Fermentation (First Rise): After mixing and kneading, before shaping.
- Final Proof (Second Rise): After shaping, just before baking.
Both require proper timing and conditions to succeed.
2. How Long Should Fermentation Take?
There’s no universal answer—fermentation time depends on several factors:
- Type of yeast: Instant yeast works faster than sourdough starter.
- Room temperature: Warmer kitchens speed up fermentation.
- Hydration: Wetter doughs ferment faster.
- Flour type: Whole grain flours ferment more quickly due to higher enzyme activity.
- Sugar and fat content: These can slow down fermentation slightly.
Typical ranges:
- Bulk fermentation: 1 to 3 hours (room temp), or 12–24 hours (cold ferment)
- Final proof: 30 to 90 minutes (room temp), or overnight (in fridge)
3. Use Visual and Tactile Cues Over the Clock
Rather than relying solely on a timer, train yourself to read the dough.
Signs of proper bulk fermentation:
- Dough has doubled in size
- Feels airy and smooth
- Jiggles slightly when you shake the bowl
- Leaves a slight indent when pressed with a floured finger
Signs of proper final proof:
- Loaf has increased in volume (not necessarily doubled)
- Passes the “poke test”: Press lightly—if the dent springs back slowly and partially, it’s ready to bake.
If it springs back too fast → underproofed.
If it doesn’t spring back at all → overproofed.
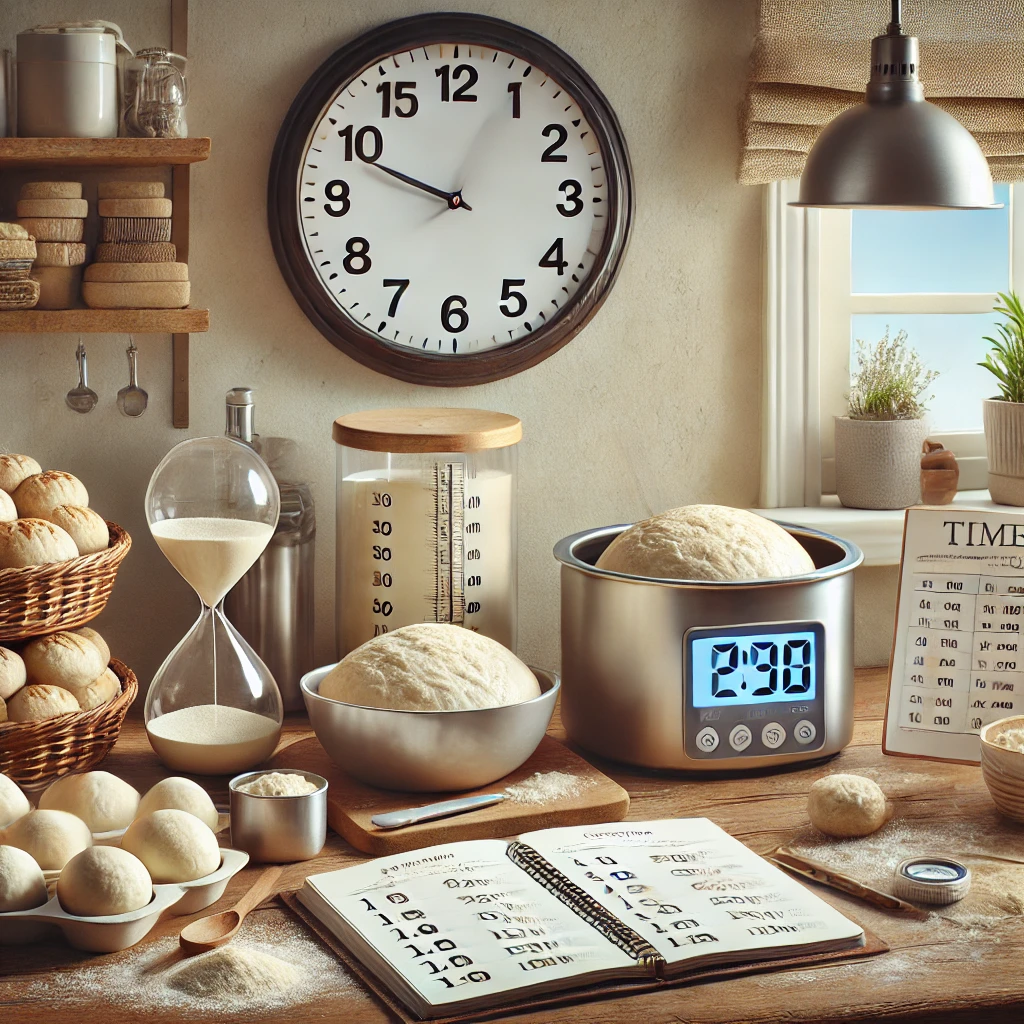
4. Use Timers and Logs for Precision
Keep track of fermentation stages using timers, alarms, or even a dedicated bread journal. This is especially helpful when multitasking or experimenting with new recipes.
Tools to use:
- Smartphone timer with labeled alerts (e.g., “Stretch and Fold 2”)
- A physical kitchen timer
- Wall clock + visible post-it notes
- Spreadsheet or baking notebook for tracking
Logging the timing and results of each bake helps you adjust and improve over time.
5. Control Fermentation with Temperature
Room temperature (68–75°F / 20–24°C):
- Ideal for regular fermentation
- Slower but more predictable
Warmer environments (above 78°F / 25°C):
- Fermentation speeds up
- Dough may overproof quickly if not monitored
Cool environments or fridge (below 65°F / 18°C):
- Best for long fermentation
- Improves flavor complexity and crust
Use your oven (turned off) with the light on as a makeshift proofing box when needed.
6. Stretch and Fold Timing
For wet doughs like ciabatta or rustic sourdough, perform stretch and folds during bulk fermentation to develop gluten and strength.
Schedule example:
- Mix at 0:00
- Fold at 0:30
- Fold at 1:00
- Fold at 1:30
- Rest until 2:30 or until doubled
These intervals help build structure without traditional kneading.
7. Cold Fermentation for Flexibility
Cold fermentation lets you extend the process, enhance flavor, and bake on your own schedule.
How to do it:
- Place dough in fridge after bulk fermentation or final shaping
- Let it ferment for 8 to 24 hours
- Bake straight from the fridge or let warm up slightly first
Benefits:
- Slower fermentation = better taste
- Easier to shape cold dough
- Great for managing time if you’re busy
8. Adjusting for Over- or Under-Fermentation
If under-fermented:
- Extend fermentation time
- Place dough in a warmer spot
- Reduce salt or yeast next time (if it’s slowing things down)
If over-fermented:
- You may notice dough collapsing or becoming slack
- You can reshape gently and reproof for a shorter period
- Consider shortening future rise times or reducing yeast
9. Use a Dough Thermometer
Temperature influences fermentation more than time. Use a probe thermometer to:
- Measure dough temp after mixing (aim for 75°F / 24°C)
- Track fermentation pace
- Avoid overheating (over 80°F / 27°C accelerates fermentation too much)
This helps keep your dough development consistent.
Final Thoughts
Timing fermentation accurately is part science, part instinct. While the clock is helpful, your best tools are your eyes, hands, and judgment. By combining timers, temperature control, and practice, you’ll learn exactly when your dough is ready—and how to adjust if something goes off-track.
Fermentation is where the magic happens. With a little planning and attention, your bread will rise beautifully, taste incredible, and reward you with every bite.