Mini breads are the perfect solution for snacks, parties, or any occasion where you want something easy to eat, portion-controlled, and packed with flavor. Whether you’re baking for a brunch buffet, a picnic, or a holiday gathering, these small loaves or rolls are as versatile as they are adorable.
In this article, you’ll learn how to make mini breads in different styles, how to shape and flavor them, and creative ways to serve them for any event.
1. Why Make Mini Breads?
Mini breads aren’t just cute—they’re incredibly practical.
Benefits:
- Bake faster than large loaves
- Perfect for portion control
- Easy to serve without slicing
- Fun to flavor, fill, and top
- Ideal for freezing or meal prepping
They’re also great for parties, kids’ lunchboxes, and gifting!
2. Choosing the Right Dough
You can use almost any bread dough to make mini breads.
Best dough types:
- Basic white or whole wheat
- Enriched doughs (with milk, eggs, butter)
- Sourdough (with a tight crumb for structure)
- No-knead doughs (portion after bulk fermentation)
Tip: Softer doughs make fluffier rolls; leaner doughs make crustier mini loaves.
3. Popular Mini Bread Styles
Mini Buns / Dinner Rolls:
- Perfect for sliders, buffets, or side dishes
- Brush with butter and sprinkle with sesame or poppy seeds
Mini Focaccias:
- Press into small pans or muffin tins
- Top with herbs, olives, cherry tomatoes, garlic
Mini Stuffed Breads:
- Fill with cheese, spinach, or meat
- Seal well and bake seam-side down
Pull-Apart Breads:
- Bake in round pans with balls of dough
- Ideal for dipping or sharing
Mini Baguettes:
- Shape narrow, 5–6 inch loaves
- Great for charcuterie boards or sandwich platters
4. How to Shape Mini Breads
Rolls:
- Divide dough into 50–70g portions
- Shape into balls by tucking edges under and rolling on a surface
Ovals or batards:
- Flatten slightly and roll into logs
- Pinch the seam and place seam-side down
Knots, twists, or braids:
- Roll dough into ropes
- Twist or knot for visual appeal
Let shaped dough rest for 20–30 minutes for final proofing before baking.
5. Flavor and Topping Ideas
Savory:
- Cheddar + chives
- Garlic butter + parsley
- Sun-dried tomato + oregano
- Everything bagel seasoning
Sweet:
- Cinnamon sugar
- Nutella swirl
- Raisin + honey glaze
- Lemon zest + powdered sugar
Toppings:
- Seeds (sesame, poppy, flax)
- Sea salt flakes
- Cheese shreds
- Egg wash for shine or milk for softness
6. Baking Guidelines
Mini breads bake faster than full loaves. General tips:
- Temperature: 375–400°F (190–200°C)
- Time: 12–20 minutes, depending on size
- Doneness: Golden brown and hollow-sounding when tapped
Brush with melted butter or olive oil after baking for added softness and flavor.
7. Creative Serving Ideas
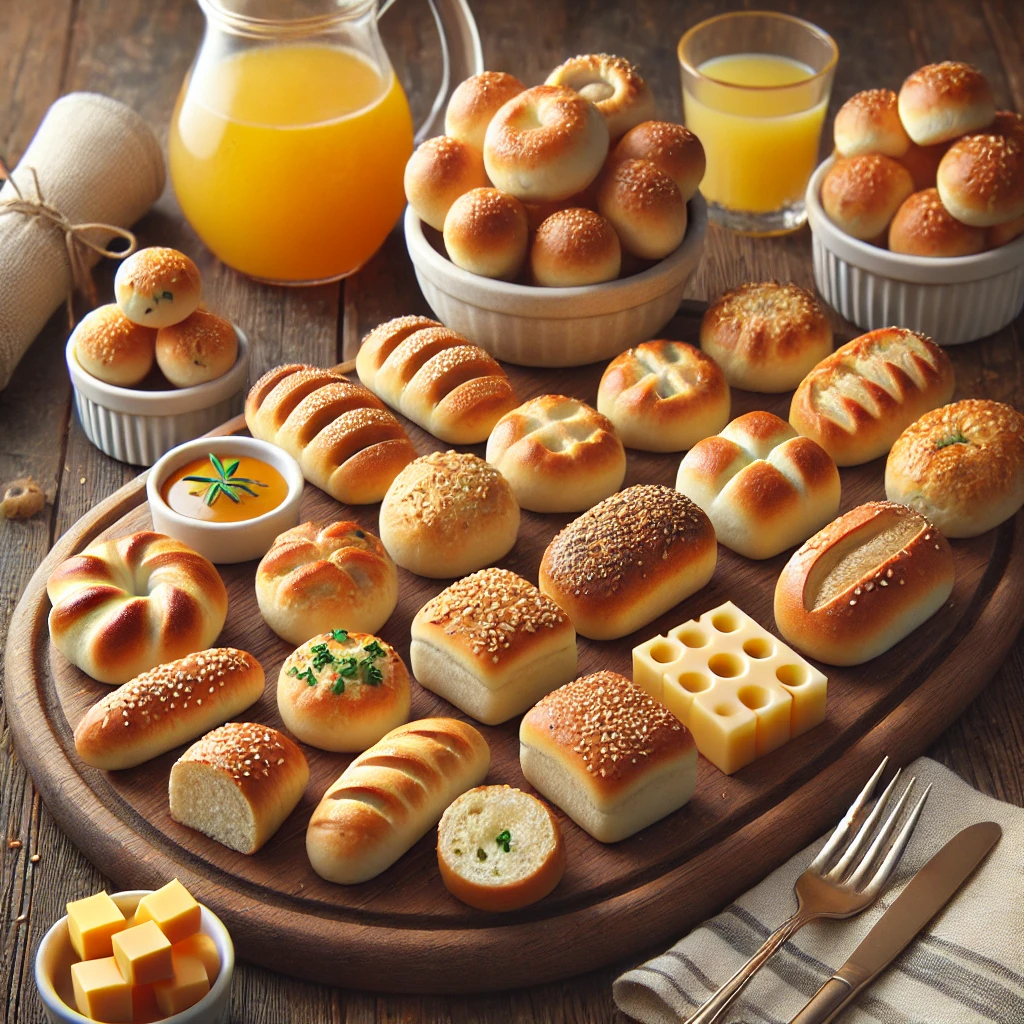
Party platters:
- Stack or arrange rolls on wooden boards with dips, cheeses, and spreads
Mini sandwiches:
- Fill rolls with deli meats, veggies, or spreads for an elegant finger food option
Sweet spreads:
- Serve sweet mini breads with honey, jam, or whipped cream cheese
On skewers:
- Thread mini rolls with cubes of cheese and fruit for a fun appetizer
Mini bread baskets:
- Include a mix of types in individual baskets for picnics or brunch
8. Storing and Freezing
Mini breads store just as well as full loaves.
To store:
- Room temp in an airtight container for 2–3 days
To freeze:
- Let cool completely
- Wrap in plastic or foil, then place in a zip-top bag
- Reheat in oven or toaster to refresh
Great for making ahead before events!
Final Thoughts
Mini breads are not just cute—they’re incredibly useful, fun to make, and endlessly customizable. Whether you go sweet or savory, stuffed or simple, these small delights bring charm and flavor to any table.
Try a few styles, mix up your toppings, and create a bread tray that wows your guests—and keeps them coming back for more.