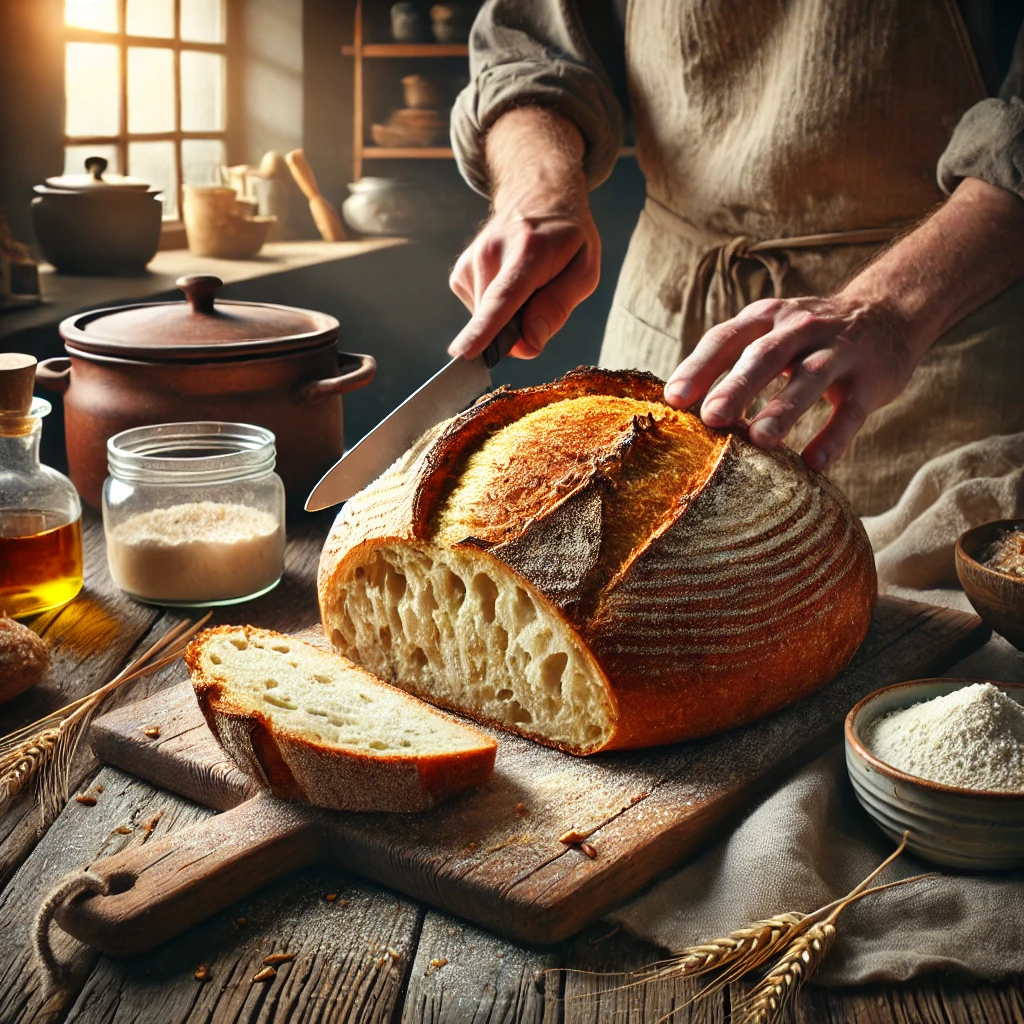
Rustic bread is more than just a food—it’s an experience. With its deeply golden, crackling crust and open, airy interior, it evokes traditional baking methods and the comfort of homemade simplicity. Making rustic bread at home is easier than you might think, especially when you focus on high hydration, natural fermentation, and the right baking technique.
In this article, you’ll learn how to make your own rustic bread from start to finish, with tips for achieving that beautiful golden crust and artisan-style texture.
1. What Makes Bread “Rustic”?
Rustic bread is characterized by:
- A crisp, thick crust
- An open crumb with irregular holes
- A deep, natural flavor
- A free-form or irregular shape (not baked in a pan)
- Simple, traditional ingredients
It typically doesn’t have added fat or sugar and often uses a long fermentation process, either with sourdough or a no-knead method.
2. The Ingredients Matter
To make great rustic bread, start with quality ingredients.
Basic recipe (for 1 large loaf):
- 500g bread flour (or mix with whole wheat for deeper flavor)
- 375–400g water (75–80% hydration)
- 10g salt
- 1g instant yeast or sourdough starter (100g, if using)
Optional additions:
- Whole grains
- Seeds (sunflower, flax, sesame)
- Fresh or dried herbs
Avoid enriched doughs if you’re aiming for a true rustic texture.
3. Mixing and Autolyse
For best results, use the autolyse method:
- Mix just the flour and water until fully hydrated.
- Let rest for 30–60 minutes.
Then add salt and yeast (or starter), and mix until fully incorporated.
You can knead lightly or use the stretch-and-fold technique during bulk fermentation to build strength without overworking the dough.
4. Long Fermentation = More Flavor
Rustic bread benefits from time. Allow your dough to ferment slowly to develop deep flavor and a complex crumb structure.
Options:
- Bulk ferment at room temperature for 4–6 hours
- Cold ferment in the fridge for 12–24 hours (great for scheduling!)
During this phase, perform 2–4 sets of stretch and folds, spaced 30–45 minutes apart.
5. Shaping and Proofing
After fermentation, gently shape the dough without degassing it too much. Rustic loaves often have a round (boule) or oval (batard) shape.
Proofing options:
- Use a banneton basket (or bowl with a floured towel) for structure
- Proof at room temperature for 1–2 hours, or cold proof in the fridge overnight
Be gentle to preserve those air bubbles inside!
6. Scoring the Dough
Just before baking, score the top of the loaf with a sharp blade or bread lame. This controls where the bread expands and creates those signature rustic ridges and ears.
Common scoring styles:
- A single long slash
- A cross pattern
- Artistic leaf or wheat patterns (for advanced bakers)
7. Baking for a Golden, Crispy Crust
Rustic bread thrives in a steamy, hot environment.
Baking methods:
- Dutch oven: Best for home bakers. Preheat it and bake with the lid on for 20–25 minutes, then uncovered for another 15–20 minutes.
- Baking stone or steel + steam: Add a tray of hot water to the oven to create steam during the first phase of baking.
Oven temp: 475°F (245°C)
Look for:
- Deep golden color
- Blistered crust
- Hollow sound when tapped
8. Cooling and Resting
Let the loaf cool completely on a wire rack before slicing—at least 1 hour.
This sets the crumb and allows the moisture to redistribute. Cutting too soon can make the inside gummy and ruin the texture you worked so hard to develop.
9. Serving Suggestions
Rustic bread is incredibly versatile and makes any meal feel special.
Try it with:
- Olive oil and balsamic vinegar
- Cheese and cured meats
- Hearty soups or stews
- Toasted with butter and honey
- Open-faced sandwiches
You can also use it for croutons, bruschetta, or paninis.
10. Storage Tips
To keep the crust crisp and the inside fresh:
- Store at room temp in a paper or linen bag
- Avoid plastic (makes the crust soft)
- For longer storage, freeze slices or the whole loaf and reheat in the oven
To refresh crust: Sprinkle loaf with water and bake at 350°F (175°C) for 5–8 minutes.
Final Thoughts
Rustic bread is all about connecting with the traditional roots of baking. It’s not about perfection—it’s about flavor, feel, and form. With the right hydration, fermentation time, and baking technique, you can create beautiful golden loaves in your own kitchen, no matter your experience level.
Once you taste that crunchy crust and soft, airy crumb, you’ll never want to go back to store-bought bread again.