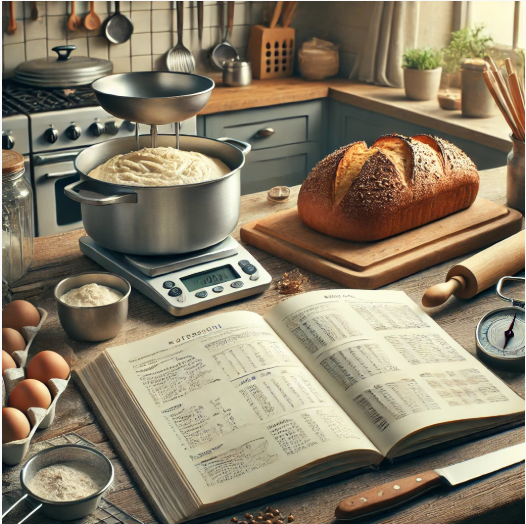
Many aspiring bakers fall in love with professional bread recipes from top chefs or artisan bakeries—only to find that recreating them at home isn’t as simple as it looks. Professional kitchens have specialized tools, large-scale mixers, proofing cabinets, and commercial ovens that can all affect the results.
But don’t worry—with the right adjustments, you can adapt professional bread recipes to your home setup and still achieve delicious, bakery-quality results. In this article, we’ll walk through exactly how to make that transition.
- Start by Understanding the Recipe Format
Professional bread recipes are often written in baker’s percentages, where all ingredients are listed as a percentage of the total flour weight. This system helps scale recipes up or down easily but can be confusing if you’re used to measuring in cups and teaspoons.
To adapt a baker’s percentage recipe:
- Choose your total flour weight (e.g., 500g).
- Multiply each percentage by that weight.
For example, if hydration is 70%, use 500g × 0.70 = 350g of water.
Tip: Get comfortable using a kitchen scale. It’s essential for precision and is far more reliable than volume measurements.
- Reduce the Batch Size
Professional recipes often yield large quantities of dough, enough for dozens of loaves. Unless you’re feeding a crowd (or stocking a freezer), you’ll want to scale the recipe down.
How to scale:
- Choose how many loaves you want to bake.
- Divide all ingredient weights proportionally.
- Use spreadsheet software or baking calculators to simplify conversions.
Tip: Scaling down doesn’t always work perfectly with timing. Be ready to adjust proofing and baking slightly based on your dough’s behavior, not just the clock.
- Adjust for Mixing Without a Commercial Mixer
Commercial stand mixers are powerful and efficient, able to knead dough in a matter of minutes. Home mixers are less powerful and more prone to overheating. Or, you might be kneading entirely by hand.
To adjust:
- Expect a longer kneading time (by hand: 8–12 min; stand mixer: 6–8 min).
- Use techniques like stretch and fold for high-hydration or long-fermented doughs.
- Embrace autolyse (pre-mixing flour and water) to reduce kneading needs.
Tip: Don’t stress about getting professional-level smoothness. With time and fermentation, gluten will develop.
- Be Flexible with Fermentation Time
Professional environments use temperature-controlled proofing cabinets to maintain perfect conditions. At home, your kitchen might be colder or warmer, depending on the season.
To adapt:
- Let dough ferment longer in cooler environments.
- Use your oven with the light on, or a turned-off microwave, as a proofing chamber.
- Refrigerate dough overnight for more flavor and easier shaping.
Tip: Focus on visual cues rather than time. Look for dough that has doubled in size and feels airy, not just a specific clock reading.
- Use the Right Bakeware Substitutes
Professional bakeries bake on deck ovens or use baking stones and steam injection to achieve thick crusts and perfect color. At home, you can still get fantastic results with a few smart substitutions.
Try this:
- Use a Dutch oven for artisan-style loaves to trap steam.
- Add a metal pan of hot water to your oven’s bottom rack during baking.
- Use baking stones or baking steel to mimic the heat retention of professional decks.
Tip: Preheat your bakeware (especially Dutch ovens and stones) for 30–45 minutes for best results.
- Adapt Professional Flour Choices
Many pro recipes use specialty flours—high-extraction wheat, rye blends, custom mixes—that aren’t always available in supermarkets.
To adjust:
- Substitute with readily available flours (e.g., bread flour for high-gluten recipes).
- Try mixing whole wheat and all-purpose flours to mimic artisan blends.
- Experiment gradually to match the texture and flavor.
Tip: Check online or local specialty stores for better flour selections when you’re ready to level up.
- Adjust for Oven Limitations
Home ovens tend to:
- Have uneven heat zones
- Take longer to preheat
- Not retain steam as well
To adapt:
- Rotate your loaves midway through baking.
- Bake one loaf at a time if space is limited.
- Invest in an oven thermometer to ensure accurate temps.
Tip: Don’t overcrowd your oven—leave room for air circulation for even baking.
- Use Longer Fermentation for Better Flavor
Professionals often rely on preferments (poolish, biga, sponge) or extended fermentation for deep flavor. These can be easily replicated at home!
To adapt:
- Use preferments to add complexity and improve rise.
- Try cold fermentation in the fridge for 12–24 hours to build better flavor and texture.
- Extend bulk fermentation if the dough isn’t active enough.
Tip: The longer you ferment (within reason), the more nuanced your bread will be.
- Tweak Hydration if Needed
Humidity, flour type, and temperature all affect dough hydration. A hydration level of 75% in a bakery may behave differently in your home.
To adapt:
- Start with the recipe’s suggested water but hold back 5–10% and add as needed.
- Focus on how the dough feels—it should be tacky but not sloppy.
- Use wet hands and a scraper to work with stickier dough.
Tip: Don’t be afraid to experiment until the dough feels right to you.
- Practice, Adapt, Repeat
Professional bakers make dozens of loaves daily—they learn from each batch. You don’t need commercial tools to get excellent results, just a curious mindset and willingness to tweak.
Keep notes, make small adjustments, and enjoy the learning process. Each bake will get you closer to the results you want.
With a few smart modifications, you can bring the brilliance of bakery-style bread into your own kitchen. Professional recipes are inspiring, but your home oven—with the right attention to detail—can produce loaves that rival the pros.
