Getting your bread dough just right can feel like a daunting task, especially for beginners. However, with a little knowledge and practice, anyone can master the art of dough-making. Whether you’re using a stand mixer or mixing by hand, there are several tips and tricks to ensure your dough comes out perfect every time.
- Start with the Right Ingredients
The foundation of any great dough starts with the right ingredients. The most basic bread dough typically consists of flour, water, yeast, and salt. While the quality of these ingredients can vary, using fresh yeast and good-quality flour can make a noticeable difference in your bread. For a beginner, it’s best to start with a basic all-purpose flour unless the recipe specifically calls for something else like bread flour.
- Measure Accurately
One of the most important tips for getting your dough right is to measure your ingredients accurately. This is where a kitchen scale can be a huge help. Rather than using measuring cups, weigh out your flour and water. This ensures you’re getting the correct ratio of ingredients, which is key for the right dough consistency.
- Perfecting the Water-to-Flour Ratio
Getting the water-to-flour ratio right is essential for making dough that’s neither too dry nor too sticky. If your dough feels too dry, it can lead to tough, dense bread, while a dough that’s too wet may be hard to work with and could result in a loaf that spreads out too much. The right consistency is typically somewhere between soft and slightly tacky, but not overly sticky.
If you’re just starting out, use a recipe that guides you on the water-to-flour ratio. For most bread recipes, this is typically around 60% hydration (meaning 60 grams of water for every 100 grams of flour). As you become more experienced, you can experiment with higher hydration levels for bread with a lighter, airier crumb.
- The Kneading Process
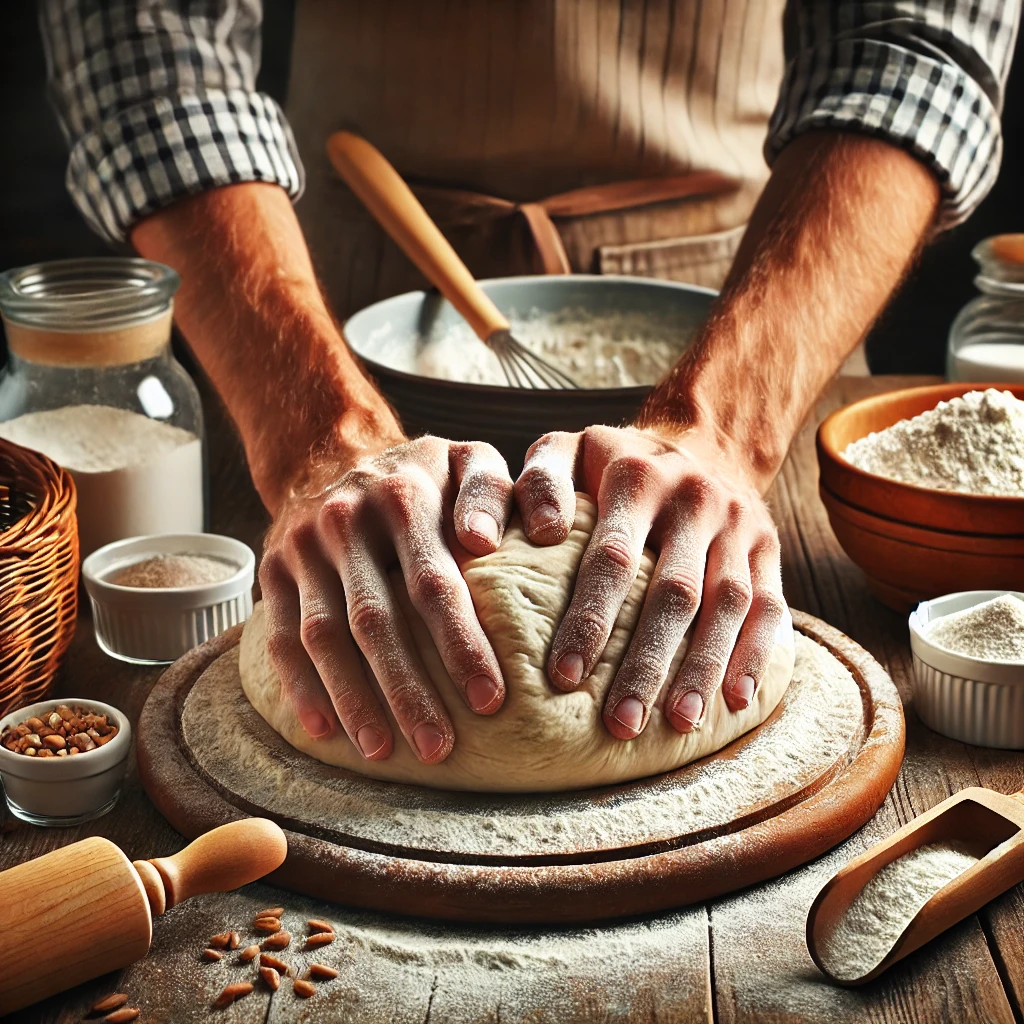
Kneading is a key step in developing gluten in the dough, which provides structure and elasticity. The most common method is to push down and fold the dough repeatedly using the heels of your hands. If you’re new to kneading, it can feel like a lot of work, but it’s essential for creating the perfect texture.
Knead for about 8 to 10 minutes, or until the dough becomes smooth and elastic. If you’re unsure, you can do the “windowpane test”: Take a small piece of dough and stretch it between your fingers. If it forms a thin, translucent membrane without tearing, your dough is ready.
- Use the Right Technique for Mixing
While some bread recipes require hand mixing, many can also be made using a stand mixer with a dough hook attachment. If you’re using a stand mixer, start on a low speed to combine the ingredients, and then gradually increase to medium speed. This helps to knead the dough without overworking it, which can happen if you knead by hand for too long.
- Let the Dough Rest
Resting is just as important as kneading. After mixing your dough, give it time to rest, or “autolyse.” This rest period allows the flour to fully hydrate, making the dough easier to work with and giving it a better texture. Typically, you’ll let your dough rest for about 10 to 20 minutes before you start kneading it.
- Don’t Overwork the Dough
While it’s tempting to keep kneading the dough or add extra flour to make it easier to work with, resist the urge to overdo it. Overworking the dough can result in a tough, dense loaf. If your dough is too sticky, use small amounts of flour to help handle it, but avoid adding too much at once.
- Learn to Feel the Dough
As you gain experience, you’ll begin to recognize the feel of the dough at each stage. When mixing, the dough should come together into a rough ball. As you knead, the dough should gradually become smoother, less sticky, and more elastic. Trust your senses—your hands can often tell you whether the dough needs more kneading or hydration.
- Proofing the Dough
Proofing refers to the rising of the dough before baking. This stage is essential for developing flavor and texture. After kneading, place your dough in a lightly greased bowl and cover it with a clean kitchen towel or plastic wrap. The dough needs to rise until it has doubled in size, which usually takes about 1 to 2 hours, depending on room temperature. The dough should be soft, elastic, and slightly puffy.
If you’re in a cooler environment, proofing can take longer. In that case, you can place the dough in a warm, draft-free spot to encourage fermentation. Some bakers use the oven with just the light on to create a warm environment.
- Shaping the Dough
Once your dough has proofed, it’s time to shape it into your desired loaf. To do this, gently deflate the dough and shape it into a round or oval loaf. Be careful not to handle the dough too roughly—this can deflate the air pockets you worked so hard to create during fermentation.
When shaping, it’s helpful to use a technique called “tightening.” This means tucking the edges of the dough underneath itself to create surface tension, which will help your dough hold its shape during the final proofing and baking stages.
- Final Proofing and Baking
Before baking, your dough will undergo a final proof. This final rise should be short—typically 30 to 60 minutes—depending on the dough’s condition. The dough should look puffy and airy, but it should not overproof. If it has risen too much, it can collapse during baking.
Once the dough is proofed, it’s ready to be baked in a preheated oven, where it will expand and develop its golden crust.