Baking fresh bread at home is rewarding, comforting, and delicious—but it does take time and coordination. If you’re looking to make homemade bread part of your weekly routine, planning ahead is essential. With a bit of organization, you can enjoy fresh loaves all week without stress or waste.
In this guide, you’ll learn how to plan your weekly bread baking schedule, choose the right types of bread, store them properly, and streamline your time in the kitchen.
- Why Plan Your Bread Baking?
Making bread involves multiple steps—mixing, kneading, rising, shaping, baking—and each takes time. Without a plan, it’s easy to feel overwhelmed or end up with too much bread all at once.
Benefits of planning include:
- Ensuring you always have fresh bread on hand
- Reducing food waste
- Saving time with batch baking
- Allowing for better variety in your weekly bread types
- Matching baking times to your daily schedule
- Decide What Kind of Bread You Need
Start by asking: What kinds of bread do you and your family actually eat during the week?
Common weekly staples include:
- Sandwich bread for lunches and toast
- Dinner rolls for meals
- Sourdough or artisan loaves for weekend brunch or soups
- Sweet bread for snacks or breakfast
- Flatbreads like pita or naan for wraps and side dishes
Choose 2 to 4 types to rotate during the week based on your needs.
- Choose a Baking Schedule That Works for You
Not everyone has time to bake daily—and you don’t have to! You can choose to bake:
- Once a week: Make 2–3 loaves and freeze some.
- Twice a week: Bake smaller batches mid-week and weekend.
- Daily (minimalist style): Mix dough one day, bake the next (great for sourdough).
A sample schedule might look like:
- Sunday: Make dough for sandwich bread and artisan loaf
- Monday: Bake sandwich loaf
- Tuesday: Feed sourdough starter
- Wednesday: Mix and bulk ferment sourdough
- Thursday: Bake sourdough
- Friday: Make and bake dinner rolls
- Saturday: Sweet bread or breakfast buns
- Batch Tasks to Save Time
To make baking easier, try batching tasks that can overlap:
- Mix multiple doughs at once if they have similar ingredients.
- Knead back-to-back and let multiple doughs rise simultaneously.
- Use your oven efficiently by baking more than one loaf at a time.
If you use preferments or sourdough starter, schedule their feedings around your dough prep.
- Prep in Advance
Many parts of bread making can be done ahead:
- Autolyse: Mix flour and water in the morning, bake later.
- Overnight bulk fermentation: Let dough rise in the fridge and bake the next day.
- Pre-shaping: Shape loaves and refrigerate overnight to bake in the morning.
- Parbake: Bake bread for 15–20 minutes, cool, then finish baking when needed.
These methods give you flexibility and help fit bread making into your schedule—even during the workweek.
- Use a Starter Maintenance Routine
If you bake sourdough weekly, keep your starter healthy without daily feeding. Store it in the fridge and feed once a week (or the day before you plan to bake). This lets you maintain a thriving culture with minimal effort.
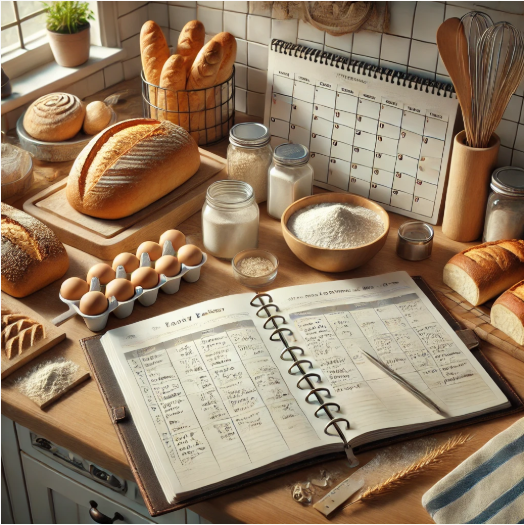
- Keep a Baking Calendar or Log
Tracking what you bake and when helps you:
- Know what’s in your freezer
- Avoid repeating the same bread types
- Improve on recipes and techniques
- Make shopping easier for flour, yeast, etc.
You can keep a simple journal or use a spreadsheet to track:
- Dough type
- Fermentation time
- Bake temperature/time
- Crumb/crust results
- Family preferences
- Master Freezing and Storage
Proper storage is key to making your weekly bread baking routine work:
To store bread:
- For short-term: Keep in a bread box or linen bag at room temperature (2–3 days).
- For longer-term: Freeze slices or whole loaves in airtight bags for up to 3 months.
To thaw:
- Let sit at room temp for 1–2 hours
- Or toast slices directly from frozen
- Refresh whole loaves in a warm oven (350°F for 10–15 minutes)
Freezing keeps your bread tasting fresh and lets you bake less frequently without sacrificing quality.
- Choose Easy, Flexible Recipes for Busy Weeks
Not every week allows for an elaborate sourdough or braided cinnamon swirl. Have a few go-to, forgiving recipes you can rely on when time is short.
Some great options:
- No-knead overnight bread
- Basic white or whole wheat sandwich bread
- Flatbreads you can cook on the stovetop
- No-yeast soda bread (when you’re really short on time)
- Make It a Routine, Not a Chore
Baking bread doesn’t have to feel like work. Make it part of your weekly rhythm:
- Prep while listening to music or a podcast
- Involve your kids or partner in shaping or scoring
- Set aside a “bread day” and enjoy the process
You’ll soon find that having fresh, homemade bread each week is not only doable—it’s one of the most rewarding parts of your home kitchen routine.