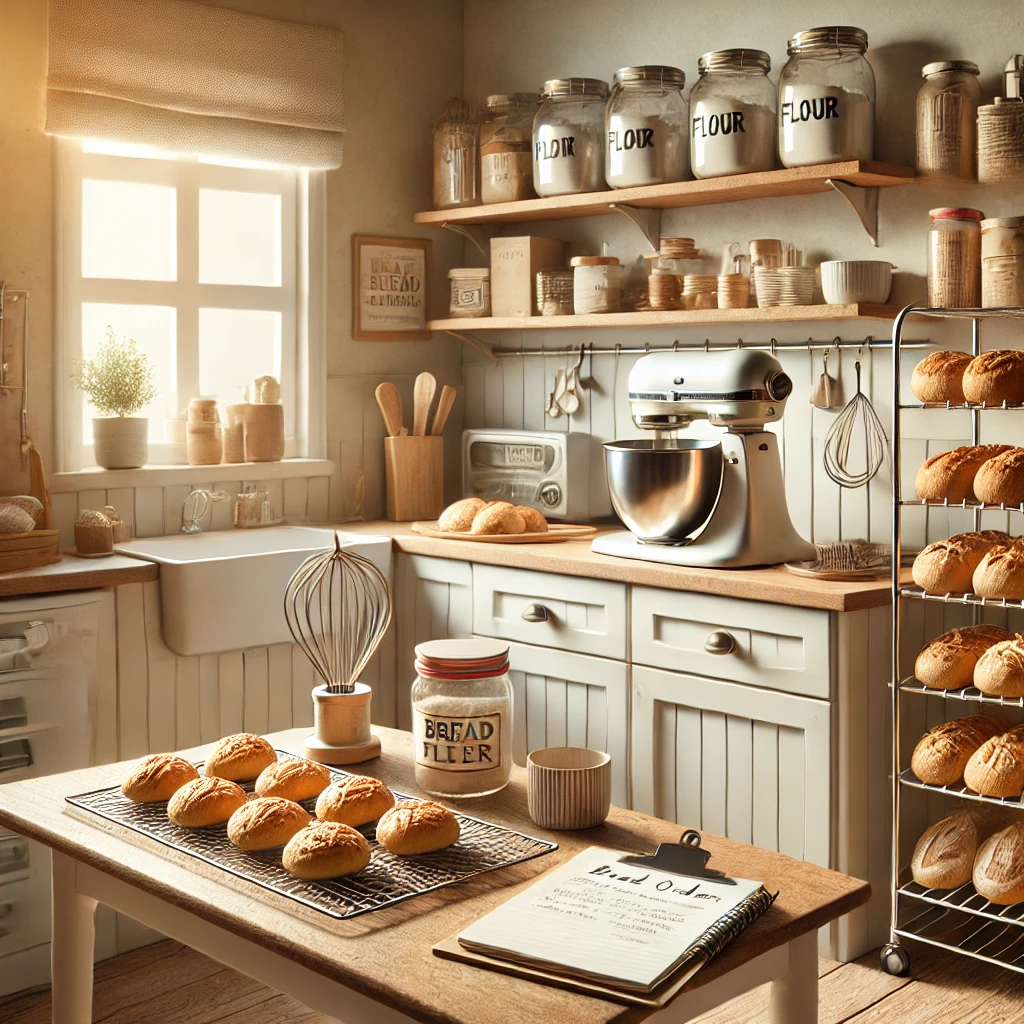
Dreaming of baking artisan bread from the comfort of your apartment kitchen? Whether you’re starting a small baking business or simply passionate about bread, you don’t need a huge space or expensive equipment to make it happen.
In this article, you’ll learn how to transform a compact kitchen into a cozy and efficient home bakery—optimized for space, productivity, and of course, delicious results.
1. Maximize Your Space: Think Vertical and Smart
Most apartments have limited counter and cabinet space. The solution? Organize vertically and intentionally.
Tips:
- Use wall-mounted shelves or pegboards to store tools, pans, and measuring cups.
- Stack mixing bowls and baskets inside each other when not in use.
- Install magnetic strips for knives and small utensils.
- Dedicate one cabinet or cart just for baking essentials.
Pro tip: A rolling cart can hold your flour, tools, and mixer—and be rolled out only when needed.
2. Set Up a Dedicated Baking Station
Having a clear, dedicated space for baking helps you stay organized and efficient—even if it’s just a corner of your countertop.
Your station should include:
- A clean prep surface
- A stand or hand mixer
- Digital scale and measuring tools
- Dough scraper and mixing bowls
- Storage jars for flours, salt, and sugar
Keep these items close together so you don’t need to hunt them down each time you bake.
3. Choose the Right Equipment (Only What You Need)
You don’t need a commercial kitchen to bake excellent bread. These are the essentials:
Must-haves:
- Oven (electric or gas): Even basic models work if you know how to use them
- Dutch oven or baking steel/stone: For a crispy crust
- Mixing bowls: Plastic or glass
- Measuring tools: Cups, spoons, digital scale
- Proofing containers or covered bowls
- Cooling racks
Nice-to-haves:
- Stand mixer (especially for enriched doughs)
- Bread lame or sharp knife for scoring
- Bench scraper
Start simple—you can add as your needs grow.
4. Manage Flour and Ingredient Storage
Bulk flour can take over your kitchen if not stored properly.
Storage tips:
- Use clear, stackable containers with tight lids.
- Label with name, date, and type (AP, bread, whole wheat).
- Keep ingredients in a cool, dry cabinet away from the stove.
Don’t forget to keep your yeast and seeds in the fridge for freshness.
5. Plan for Cleaning and Workflow
Baking gets messy—especially in small spaces.
To stay on top of it:
- Clean as you go (always have a damp cloth nearby)
- Use a silicone mat to keep flour off your counter
- Organize your workflow: mix → ferment → shape → clean → bake
A clean space makes baking more enjoyable and less stressful.
6. Organize Your Schedule
Running a mini home bakery or baking regularly requires time management.
Use a simple plan:
- Mix in the evening → overnight cold ferment → shape and bake in the morning
- Assign baking days and prep days if making multiple loaves or products
- Keep a notebook or digital tracker for dough times, hydration levels, and customer requests
If selling bread:
Set pickup or delivery windows and batch your baking to match.
7. Get Creative with Proofing and Cooling
Apartments aren’t always temperature-friendly for fermentation.
Solutions:
- Use your oven (turned off) with the light on for proofing
- Place dough near warm appliances for gentle rising
- Cool bread on racks over your stove or sink to save counter space
8. If You’re Selling Bread: Keep It Legal
If you plan to sell your bread, check local regulations.
Basic steps:
- Research your area’s cottage food laws
- Register your home bakery if required
- Label products with ingredients and allergens
- Use separate equipment if mandated
Even if you’re baking for fun, it’s good to understand the basics.
9. Keep Inspiration Nearby
Decorate your baking area with:
- A clipboard for notes and recipe adjustments
- A rotating list of new bread ideas
- Photos of past bakes or customer messages
This keeps motivation high and adds charm to your space.
Final Thoughts
Turning your apartment into a home bakery is absolutely possible—and can be incredibly fulfilling. With a little planning, smart storage, and the right tools, you’ll be producing beautiful, delicious bread in even the smallest kitchen.
Whether baking for yourself, your neighbors, or future customers, your home bakery can start right where you are—with passion, patience, and a warm loaf in hand.
