Your oven is one of the most critical tools in bread baking—and the type of oven you use can significantly impact your final results. Whether you have an electric or a gas oven, understanding how each one works will help you get better crust, oven spring, and overall consistency in your loaves.
In this guide, we’ll break down the key differences between electric and gas ovens, offer tips to work with both, and share techniques to optimize your bread baking regardless of the setup in your kitchen.
1. Understanding the Main Differences
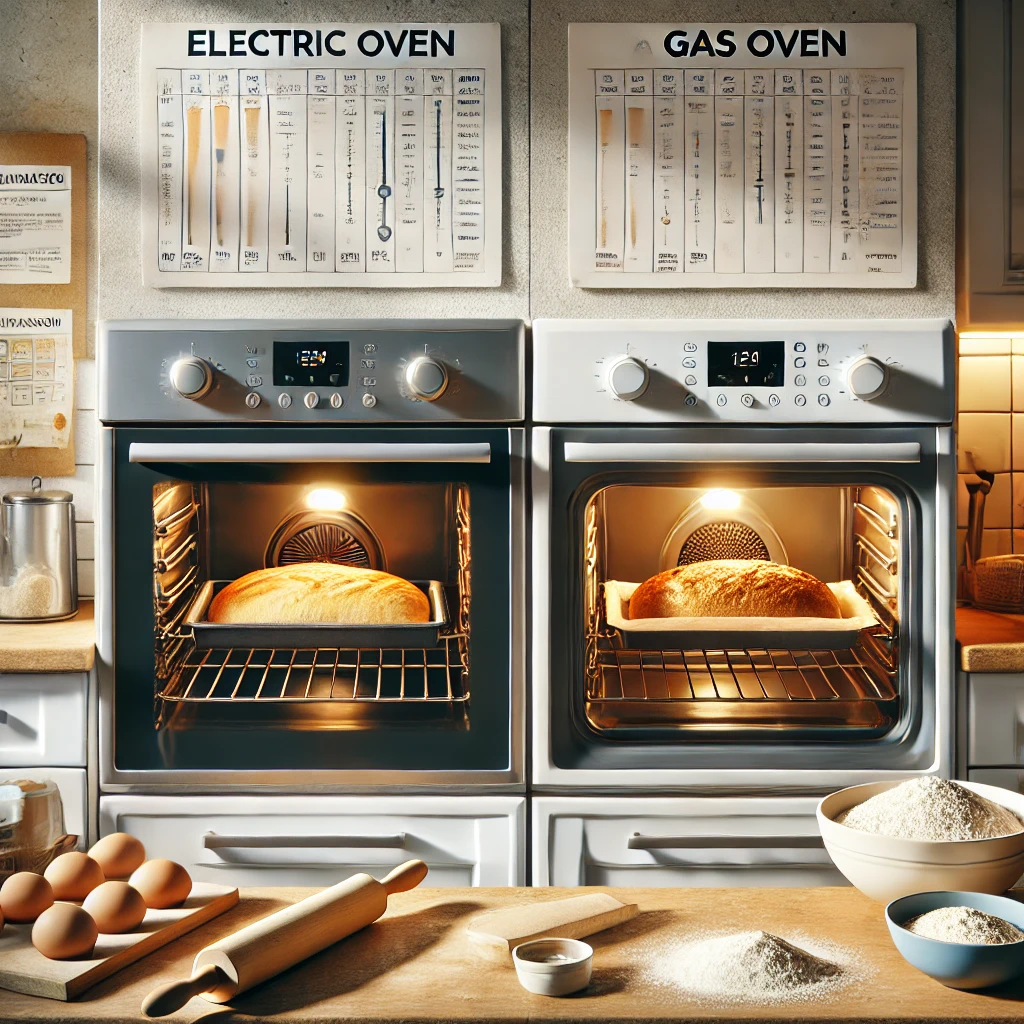
Electric ovens and gas ovens both get the job done, but they operate differently, and those differences affect how heat is distributed and retained during baking.
Electric Oven:
- Heats more evenly overall
- Tends to maintain a more consistent temperature
- Usually has top and bottom heating elements
- Slower to preheat, but better at holding stable heat
Gas Oven:
- Heats quickly
- Uses an open flame for heat (typically at the bottom)
- Can have hot spots and uneven heating
- Often more humid due to water vapor from gas combustion
Understanding these traits helps you adjust your baking habits for better results.
2. Managing Temperature Accuracy
Temperature control is essential in baking, and oven thermostats aren’t always accurate—especially in gas ovens.
Tips:
- Use an oven thermometer. Place it in the center of your oven to verify the actual temperature.
- Preheat fully before baking. Electric ovens often take longer to reach the right temp.
- Avoid frequent door opening—it leads to heat loss in electric ovens and temperature spikes in gas ones.
Knowing the true temperature inside your oven helps you avoid underbaked centers or overly browned crusts.
3. Positioning Matters
Heat distribution varies between oven types, so rack positioning is crucial.
- In electric ovens: The center rack typically offers the most even heat.
- In gas ovens: Use the upper-middle rack to avoid burning the bottom of your loaf from the direct flame.
You may need to experiment to find the sweet spot in your oven. Keep notes as you test!
4. Adjusting for Humidity Levels
Gas ovens naturally produce more humidity, which can affect crust formation. Electric ovens, on the other hand, are drier and more predictable for crust development.
For gas ovens:
- Extend baking time slightly for a crispier crust.
- Open the door slightly during the final minutes of baking to allow moisture to escape.
For electric ovens:
- Add a pan of water or use a spritz bottle to create steam early in the bake (great for artisan breads).
5. Creating Steam for Better Crust
Regardless of oven type, steam is your secret weapon for a crispy, shiny crust and beautiful oven spring.
Methods:
- Dutch oven baking: Best for electric ovens and works in gas ovens too. It creates its own steam environment.
- Steam tray: Place a metal pan on the bottom rack. When you add the bread, pour in ½ cup of hot water and close the door quickly.
- Spritzing: Lightly spray the oven walls with water during the first 5–10 minutes of baking.
Avoid using glass pans for steam—they can shatter from temperature shock.
6. Rotating the Bread
Gas ovens often have uneven heating, with hot spots around the edges. To bake more evenly:
- Rotate your loaf halfway through the baking time.
- Switch positions if baking multiple loaves or pans.
- Use a baking stone or steel to help regulate and distribute heat.
Electric ovens usually don’t require rotating unless your heating elements are poorly calibrated.
7. Using Bakeware Effectively
In electric ovens:
- Standard loaf pans and Dutch ovens work well.
- Baking stones help mimic professional oven floors.
In gas ovens:
- Thicker pans help protect the loaf from sudden bottom heat.
- If baking directly on a rack, use parchment and double pans to diffuse heat.
Always preheat your bakeware for better crust and oven spring.
8. Compensating for Oven Limitations
Every oven has quirks. Learn yours, and don’t hesitate to adapt.
If your gas oven runs hot:
- Lower the temp by 10–15°F and bake slightly longer.
- Cover your loaf loosely with foil if it browns too fast.
If your electric oven has weak bottom heat:
- Place a baking steel on the lower rack to boost heat from below.
Track these tweaks in a notebook so you can replicate (or improve) each result.
9. Checking for Doneness
Regardless of oven type, a properly baked loaf should:
- Sound hollow when tapped on the bottom
- Have an internal temp of 190°F to 210°F (88°C to 99°C), depending on type
Use a thermometer for accuracy—especially if you’re new to baking.
Final Thoughts
Whether you bake with gas or electric, the key to consistent success is understanding how your oven behaves. Learn its strengths, adapt to its quirks, and test methods like steam, rotation, and bakeware choice to get the best results.
With just a few thoughtful adjustments, any home oven can become your personal bakery—delivering golden, crusty loaves every time.