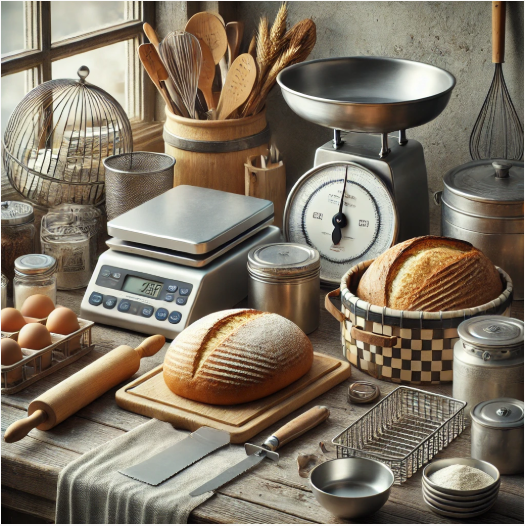
You don’t need a professional bakery setup to make amazing bread at home, but having the right tools can make a huge difference. From mixing to proofing and baking, the proper equipment helps improve your technique, streamline the process, and ultimately leads to better results. Whether you’re just starting or looking to level up your bread-making game, here are the must-have tools every home baker should own.
- Digital Kitchen Scale
Precision is everything in bread making. A digital kitchen scale is arguably the most important tool for consistent, professional-quality results. Measuring flour, water, and other ingredients by weight ensures accuracy and eliminates the variability that comes with measuring cups.
Tip: Look for a scale that measures in grams and has a tare function, so you can easily reset the weight as you add ingredients.
- Mixing Bowls (Various Sizes)
You’ll need at least one large mixing bowl for combining your dough, as well as medium and small ones for other tasks like pre-mixing ingredients or feeding a sourdough starter. Stainless steel, glass, and food-grade plastic are all good options.
Tip: Choose bowls with a wide opening to make kneading easier and to give your dough plenty of room to rise.
- Dough Scraper / Bench Knife
A dough scraper (also called a bench knife) is a simple but essential tool. It helps you handle sticky dough, clean your work surface, and divide dough evenly. It’s especially helpful when working with high-hydration doughs that are difficult to knead by hand.
Tip: Metal scrapers are more durable and better for cleaning surfaces, while plastic ones are gentler and safer for bowls and non-stick surfaces.
- Proofing Basket (Banneton)
A proofing basket helps your dough maintain its shape during the final rise and also gives your bread an attractive, professional look. Bannetons are typically made of rattan or cane and often come with a cloth liner. They’re especially useful for sourdough and rustic loaves.
Tip: Dust the basket generously with flour or rice flour before placing the dough inside to prevent sticking.
- Dutch Oven or Cloche
For artisan-style bread with a crispy crust, nothing beats a Dutch oven. It creates a mini steam oven, trapping moisture and allowing the bread to rise fully while developing a beautifully browned crust. If you don’t have a Dutch oven, a cloche or covered baking dish can work similarly.
Tip: Preheat your Dutch oven in the oven before placing the dough inside. Use parchment paper to make the transfer easy and mess-free.
- Lame or Sharp Razor Blade
Scoring the dough before baking helps control how it expands in the oven. A lame—a curved blade on a handle—is the traditional tool used for scoring artisan loaves, but a sharp razor blade or very sharp knife can work just as well.
Tip: Make confident, swift cuts at a shallow angle to help the dough expand and create an attractive crust pattern.
- Instant-Read Thermometer
A thermometer helps ensure your bread is baked all the way through. The ideal internal temperature for most breads is around 190°F to 210°F (88°C to 99°C), depending on the type of loaf. An instant-read thermometer also helps when working with liquids to activate yeast at the right temperature.
Tip: Use the thermometer to check that your water is around 105°F to 110°F when working with active dry yeast.
- Silicone Spatula or Dough Whisk
For mixing dough and incorporating ingredients without overworking it, a silicone spatula or dough whisk is extremely useful. Dough whisks are specifically designed for mixing heavy, sticky bread doughs and can prevent overmixing while reducing mess.
Tip: Choose heat-resistant silicone spatulas if you’re working with warm ingredients.
- Oven Thermometer
Home ovens are often inaccurate. An oven thermometer helps you confirm the actual temperature inside your oven so you can make adjustments as needed. This ensures your bread bakes evenly and according to recipe instructions.
Tip: Place the thermometer in the center of your oven and always preheat thoroughly before baking.
- Loaf Pans
If you love making sandwich bread, loaf pans are a must. They help shape the bread and provide structure as it bakes. Standard sizes work well for most recipes, but you can also experiment with mini loaf pans or pullman pans for a uniform, square shape.
Tip: Grease your pans or use parchment paper for easy removal and less cleanup.
- Cooling Rack
Proper cooling is essential to preserving the texture of your bread. A cooling rack allows air to circulate around the entire loaf, preventing the bottom from becoming soggy.
Tip: Cool the bread for at least 30 minutes on the rack before slicing to allow the crumb to set.
- Optional but Nice-to-Have: Stand Mixer
While many bakers prefer kneading by hand, a stand mixer with a dough hook can save time and effort—especially when working with large batches or high-hydration doughs. It also offers consistency and reduces strain on your hands and wrists.
Tip: Mix on low speed and watch the dough closely to avoid over-kneading, especially with powerful mixers.
Now that you know what tools are worth having in your kitchen, you’ll be better equipped to take your bread baking to the next level—whether you’re shaping rustic boules or baking the perfect sandwich loaf. These tools don’t need to be expensive or fancy, but having the right ones will improve your technique and your final results.