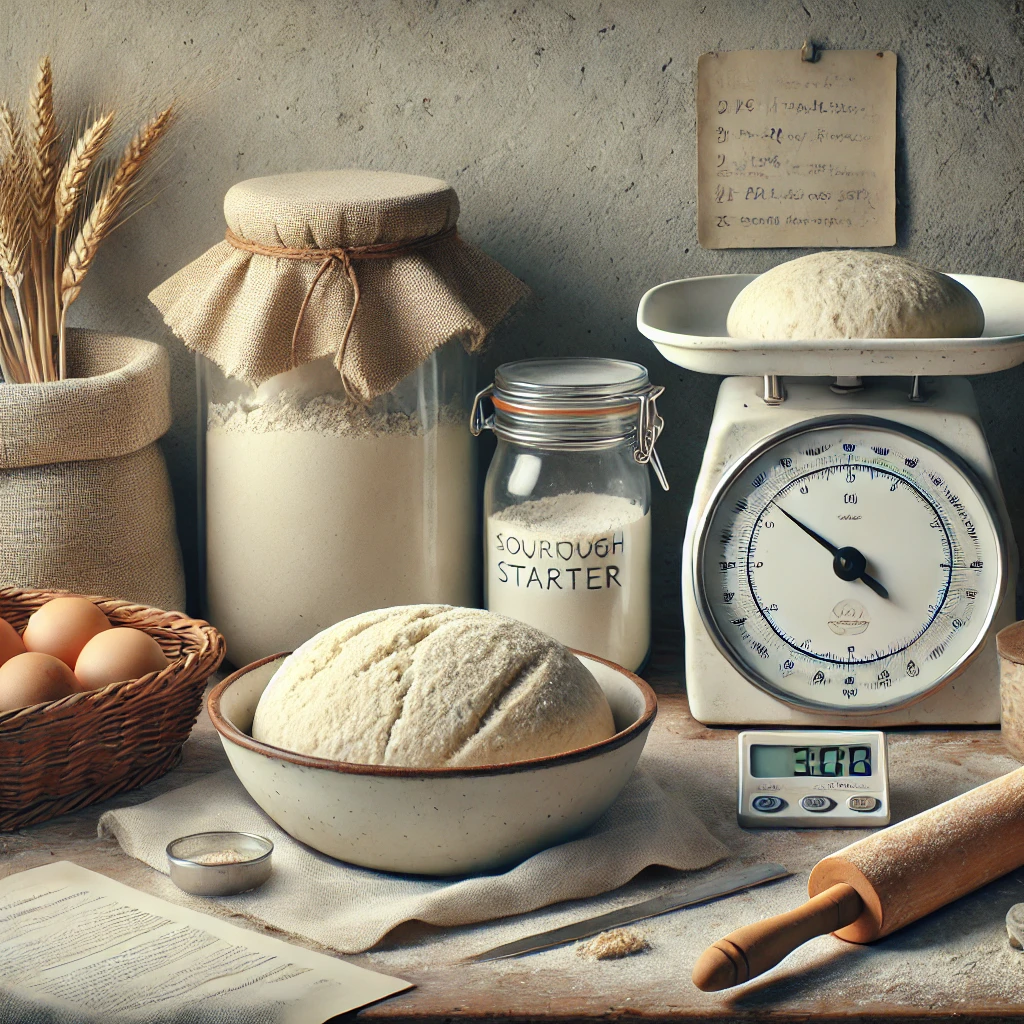
Long-fermentation bread, often associated with artisan loaves and sourdough baking, is a method that favors time over shortcuts. While it might seem intimidating at first, preparing bread this way at home is entirely achievable—and the rewards are well worth it. A richer flavor, improved texture, better digestibility, and longer shelf life are just some of the many benefits.
In this guide, we’ll walk through the fundamentals of long fermentation, explain how it works, and give you a step-by-step plan to incorporate it into your home baking routine.
1. What Is Long Fermentation?
Long fermentation refers to the extended period during which dough is allowed to rest and rise, often over several hours or even overnight. Instead of relying on fast-rising commercial yeast alone, this method slows down the fermentation process to allow for:
- Enhanced flavor from the breakdown of complex carbohydrates
- Improved gluten development
- Easier digestion due to the breakdown of phytic acid and gluten
- Longer freshness, as natural acids act as preservatives
This process is commonly used in sourdough baking, but you can apply it to yeasted breads too.
2. The Science Behind It
Fermentation is a biological process where yeast and/or bacteria consume sugars in the flour and produce carbon dioxide (for rise) and acids (for flavor). In long fermentation, this happens slowly, allowing more complex flavors to develop.
The two main methods of long fermentation are:
- Cold fermentation: Refrigerating the dough to slow down yeast activity
- Room temperature fermentation: Allowing the dough to ferment for several hours in a cool space
Sourdough uses wild yeast and bacteria to achieve these results naturally, while commercial yeast can be used in smaller amounts for a similar effect.
3. Ingredients Matter More Than Ever
In long fermentation, the fewer the ingredients, the more you taste each one. That’s why high-quality flour, water, and salt matter so much.
Choose:
- Unbleached, high-protein bread flour
- Filtered or non-chlorinated water
- Fine sea salt or kosher salt
Optional:
- Whole grain flours (rye, spelt, whole wheat) for deeper flavor
- Sourdough starter or minimal commercial yeast (¼ tsp is enough)
4. A Basic Long-Fermentation Timeline
Here’s a sample structure for a two-day fermentation process using minimal yeast:
Day 1 – Evening:
- Mix all ingredients until just combined.
- Cover and let rest for 30 minutes.
- Perform 2–3 sets of stretch and folds, spaced 30 minutes apart.
- Cover and place in the fridge overnight.
Day 2 – Morning or Afternoon:
- Remove dough from the fridge.
- Let it come to room temperature (1–2 hours).
- Shape the dough into a boule or place it into a loaf pan.
- Let rise until puffy (this may take 1–3 hours).
- Bake in a preheated oven as usual.
This process can be adapted to sourdough or other methods. The key is patience and time.
5. Sourdough vs. Yeasted Long Fermentation
Sourdough: Uses a wild yeast culture (starter) and naturally occurring lactic acid bacteria. Requires starter maintenance but offers superior depth of flavor and shelf life.
Yeasted dough (cold proof): Uses a small amount of commercial yeast to ferment slowly. Easier to manage for beginners and doesn’t require a starter.
Both methods benefit from the slow process, and either can be used depending on your comfort level.
6. Tips for Managing the Timeline
- Busy schedule? Do the first day’s work after dinner and bake the next afternoon.
- Running late? The dough can stay in the fridge for up to 48 hours.
- Want more tang? Extend fermentation by lowering the fridge temperature or adding a preferment (like a poolish).
The beauty of long fermentation is flexibility—it fits into your life, not the other way around.
7. Equipment That Helps (But Isn’t Required)
- Digital scale: For precise hydration and consistency
- Dutch oven: Traps steam and gives excellent oven spring
- Banneton (proofing basket): Helps shape rustic loaves
- Lame or razor blade: For scoring before baking
If you don’t have these tools, no problem. A bowl, loaf pan, and sharp knife work just fine.
8. Signs of Good Fermentation
You’ll know your dough is properly fermented when:
- It has visibly increased in volume
- The surface is smooth and slightly domed
- It springs back slowly when gently pressed
- It has a pleasant, mildly sour aroma
Under-fermented dough will be tight and resistant to shaping, while over-fermented dough may be sticky and collapse easily. Experience will teach you the difference.
9. Baking and Cooling
Bake your long-fermented bread at high heat—typically 450°F (232°C) for artisan loaves. Use steam (by baking in a Dutch oven or adding water to a hot tray in your oven) for the first 20 minutes.
After baking, let the loaf cool on a wire rack for at least 1 hour before slicing. This allows the crumb to set and avoids gummy interiors.
Final Thoughts
Long-fermentation bread isn’t just about time—it’s about transformation. It turns basic ingredients into something deeply flavorful, nourishing, and satisfying. And perhaps most importantly, it invites you to slow down, be present, and reconnect with the rhythm of traditional baking.
Whether you’re making sourdough or experimenting with slow yeasted loaves, you’ll find that long fermentation not only improves your bread—but also your overall baking experience.
