Homemade bread is a true pleasure—warm, flavorful, and made with love. But unlike store-bought loaves, it doesn’t contain preservatives, meaning it can go stale or moldy quickly if not stored properly. Learning how to store your bread the right way can help you enjoy every last slice without sacrificing quality or flavor.
In this guide, we’ll explore the best practices for keeping homemade bread fresh, how to prevent it from drying out or molding, and storage solutions tailored to different types of bread.
1. Understand What Makes Bread Go Stale or Moldy
Before we dive into storage methods, it helps to understand why bread goes bad.
- Staling: Bread dries out when exposed to air, causing it to lose moisture and become hard.
- Molding: Moisture trapped in the wrong conditions can encourage mold growth, especially in warm environments.
The key to fresh bread is finding the balance: prevent drying without sealing in too much moisture.
2. Know Your Bread Type
Different types of bread require different storage approaches:
- Lean breads (e.g., sourdough, baguettes): No added fat or sugar. They dry out faster but resist mold longer.
- Enriched breads (e.g., brioche, sandwich bread): Contain fat, milk, or eggs. Stay soft longer but mold faster.
Understanding the bread’s ingredients helps you decide the best storage method.
3. Best Short-Term Storage (1–3 Days)
For breads you plan to eat within a few days:
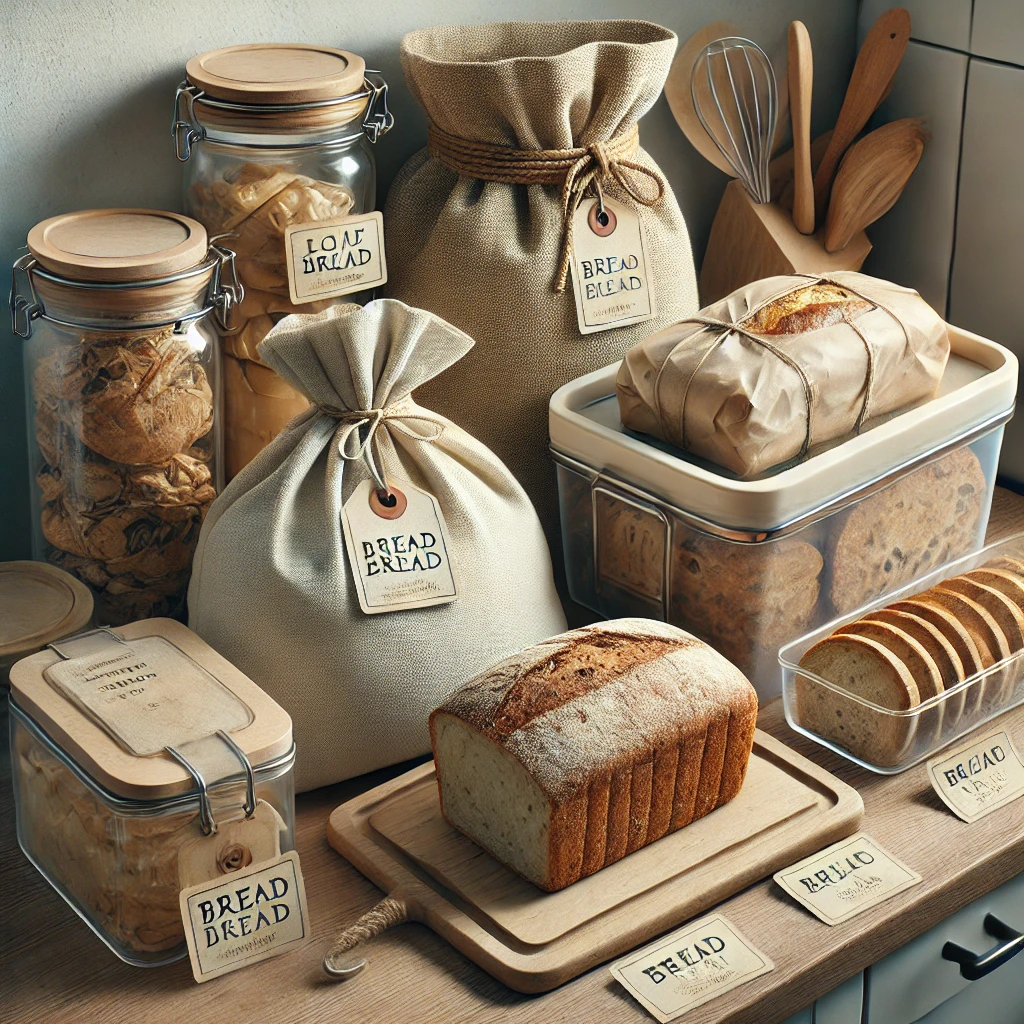
Use:
- A linen or cotton bread bag: Allows airflow to prevent mold while retaining some moisture.
- A paper bag: Works well for crusty breads, keeping the crust crisp.
- Bread box: Ideal for room temperature storage—protects from air and light, and controls humidity.
Avoid plastic for short-term storage unless the bread is enriched and soft (like sandwich bread), which benefits from a moisture-retaining environment.
Tip: Store the bread cut-side down on a wooden board if it’s a rustic loaf. This minimizes surface exposure while protecting the crust.
4. How to Store Sliced Bread
Sliced bread dries out faster due to the exposed surface area. If you’re slicing as you go:
- Only slice what you plan to eat
- Wrap the cut side with beeswax wrap or reusable fabric wrap
- Store in a breathable bag or container with a slightly loose seal
If the whole loaf is pre-sliced, use a plastic container or zip-top bag to retain moisture—but watch for mold after day 3.
5. Long-Term Storage: Freezing Bread
Freezing is the best way to preserve homemade bread for more than a few days without losing flavor or texture.
How to freeze:
- Cool the loaf completely (very important!)
- Wrap tightly in plastic wrap or aluminum foil
- Place in a freezer-safe zip-top bag
You can freeze:
- Whole loaves
- Halves or quarters
- Pre-sliced loaves (easier to use)
How to thaw:
- For whole loaves: Remove from the freezer and let thaw at room temp, still wrapped, for 3–4 hours.
- For slices: Toast directly from frozen or let thaw for 20–30 minutes.
Pro tip: Use parchment paper between slices to make single servings easier to grab.
6. What NOT to Do
- Don’t store bread in the refrigerator. It actually accelerates staling due to cold starch retrogradation.
- Don’t leave bread exposed on the counter. It will go stale by the next day.
- Don’t wrap warm bread. Trapped steam will create condensation and promote mold.
Always let bread cool completely before wrapping or storing.
7. Refreshing Stale Bread
If your bread is still safe to eat but has gone a bit stale, there are a few ways to bring it back to life.
Oven method:
- Preheat oven to 350°F (175°C)
- Lightly mist or run the crust under water (yes, really!)
- Bake for 5–10 minutes
- Let cool slightly before slicing
This works especially well for crusty artisan loaves.
8. Storage Tools That Help
Consider investing in:
- A quality bread box
- Reusable bread bags (cotton or linen)
- Beeswax wraps
- Plastic or glass storage containers with loose-fitting lids
- Freezer-safe bags
Having the right storage tools on hand makes it easier to preserve your bread consistently and efficiently.
9. Organizing a Bread Storage Routine
If you bake bread regularly, it’s helpful to create a routine that includes:
- Cooling and wrapping schedule
- Slicing and portioning for daily use
- Freezing loaves in advance for busy weeks
Example routine:
- Bake on Sunday → eat fresh Sunday–Monday
- Slice and freeze remainder by Tuesday
- Thaw and toast slices as needed through the week
This routine gives you the pleasure of homemade bread every day without waste.
Final Thoughts
Homemade bread doesn’t have to be a race against time. With the right storage methods, you can preserve the flavor, texture, and quality of your loaves for days—or even weeks. Whether you love crusty sourdough or soft sandwich loaves, these storage tips will keep your hard work fresher, longer.