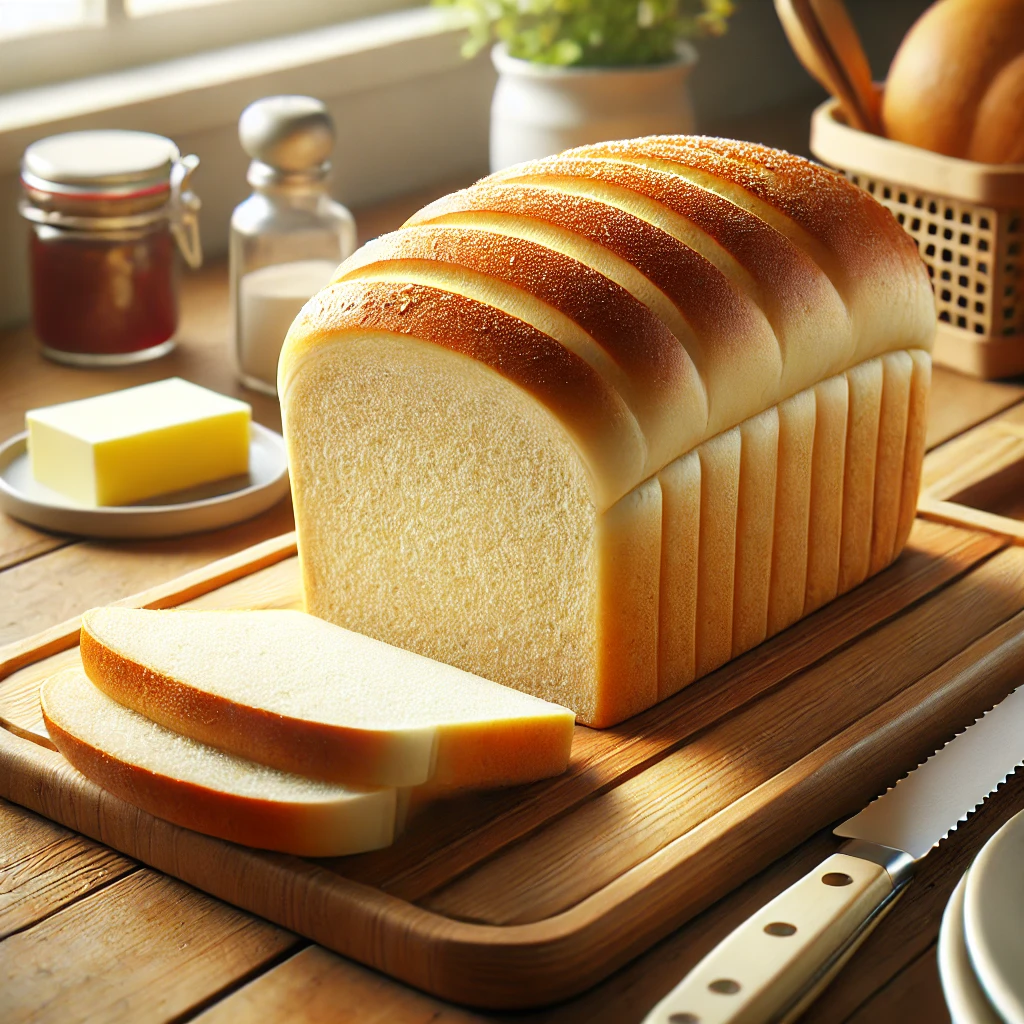
Soft sandwich bread is a beloved staple in many households. Its light, airy texture and mild flavor make it perfect for everything from morning toast to lunchtime sandwiches. However, achieving the perfect soft loaf at home can be a bit tricky. In this article, we’ll guide you through the process of making soft sandwich bread, complete with helpful tips to ensure your bread is perfectly soft, light, and delicious.
- The Importance of the Right Ingredients
To make a soft sandwich bread, it’s important to choose the right ingredients that contribute to both texture and flavor. The basic ingredients you’ll need include:
- Flour: While bread flour is often preferred for other types of artisan bread, for sandwich bread, all-purpose flour is typically the best choice. It has the right balance of protein content to create a soft and tender loaf, without the chewiness that comes with bread flour. If you want a slightly richer flavor and texture, you can incorporate a small amount of whole wheat flour as well.
- Yeast: Active dry yeast or instant yeast is most commonly used in sandwich bread. Both types work well, but instant yeast tends to work faster and doesn’t require activation in water, which can make the process a little easier for beginners.
- Milk: Milk adds both moisture and richness to the dough, giving the bread its soft, tender crumb. You can use whole milk for the best flavor, but if you need a dairy-free version, unsweetened almond milk or soy milk can be substituted.
- Butter or Oil: Fat is crucial for creating soft bread. Butter adds flavor and richness, while oil makes the bread slightly softer and longer-lasting. If you prefer a vegan option, oil can be substituted for the butter.
- Sugar: A small amount of sugar helps activate the yeast and contributes to the overall flavor. It also helps to brown the crust slightly, giving it a golden color.
- Creating the Dough: Mixing and Kneading
Once you have your ingredients ready, it’s time to make the dough. Start by mixing the dry ingredients—flour, sugar, salt, and yeast—in a large bowl. In a separate container, warm the milk (to about 110°F or 43°C) and add the butter or oil, allowing it to melt into the milk.
Once the wet ingredients are ready, pour them into the dry ingredients and stir until the dough comes together. You should have a slightly sticky dough that holds its shape. Transfer the dough to a lightly floured surface and begin kneading.
Knead the dough for about 8 to 10 minutes, until it becomes smooth and elastic. If the dough is too sticky, sprinkle a little more flour, but be careful not to add too much. The key to soft bread is to keep the dough hydrated, so avoid over-flouring it.
- First Rise: Let It Rest and Double in Size
After kneading, place the dough in a lightly greased bowl and cover it with a clean kitchen towel or plastic wrap. Let it rest at room temperature for about 1 to 1.5 hours, or until it has doubled in size. This first rise allows the yeast to work, creating air pockets in the dough that will make the bread soft and light.
If you are in a colder environment, you can speed up the rise by placing the dough in a warm spot, such as near an oven with the light on. Alternatively, you can place the dough in the refrigerator for a longer, slower fermentation, which can develop more flavor in the bread.
- Shaping the Dough: Forming a Perfect Loaf
Once the dough has risen, gently punch it down to release the air bubbles and turn it out onto a floured surface. Shape the dough into a loaf by rolling it tightly, pinching the seams together to create a smooth top.
Place the dough into a greased loaf pan, ensuring the seam is on the bottom. Tuck the sides of the dough in neatly so the bread bakes evenly. Cover the pan with a towel and allow the dough to rise again, about 45 minutes to 1 hour, or until it has reached the top of the pan.
- Second Rise: Patience for Softness
The second rise is critical for getting that soft, tender crumb. Don’t rush this step—letting the dough rise slowly gives the yeast time to produce more air bubbles, resulting in a light texture. If you skip this step or don’t let the dough rise enough, the bread will be dense.
While the dough is rising, preheat your oven to 350°F (175°C), ensuring it’s fully heated before you put the bread in.
- Baking the Bread
Once the dough has risen, place the loaf pan in the preheated oven and bake for 25 to 30 minutes, or until the top of the bread is golden brown. For a perfect soft sandwich bread, you’ll want to make sure the interior reaches an internal temperature of around 190°F (88°C). This ensures the bread is fully cooked and has the right texture.
If the top is browning too quickly, you can cover the loaf loosely with aluminum foil to prevent it from burning before the inside is done.
- Cooling: The Final Step to Softness
After baking, remove the bread from the oven and allow it to cool in the pan for about 10 minutes. This helps the bread set and ensures it won’t collapse when you remove it from the pan. After 10 minutes, transfer the bread to a wire rack to cool completely.
While it may be tempting to slice into the bread right away, allow it to cool for at least 30 minutes before slicing. This gives the crumb time to set, preventing the slices from being too gummy.
- Tips for Storing Your Soft Sandwich Bread
To keep your sandwich bread soft for longer, store it in an airtight container or a plastic bag at room temperature. This will help retain the moisture in the bread, keeping it soft. For longer storage, you can freeze the bread by slicing it first, so you can take out just the amount you need.